How to Automatically Generate Event ID cards with Airtable and Bannerbear
In this tutorial, we will establish a way to use Airtable as an events tracker, automate attendee registration and generate event IDs with Bannerbear.

Creating name badges for events is an extra task for every organiser. Pulling the attendees’ details to design and print individual ID cards is probably the least enjoyable part of planning an event. There is a great deal of planning, data management, repetitive tasks and attention to detail involved.
Whether you need IDs for a work event, name badges for kids or any activity where you need to identify individuals within a group, making the process more efficient requires the right tools. The best way to go is to create the IDs automatically in a faster and most affordable way.
What we will do
In this tutorial, we will establish a way to use Airtable as an events tracker, automate attendee registration and generate event IDs with Bannerbear.
Here's what we're going to do:
- Create Airtable and Bannerbear accounts
- Collect attendee data into Airtable base
- Pull data in from an Airtable sheet via a direct Bannerbear integration to generate ID cards
At the end of this article, you will be able to create ID cards for your attendees with minimal manual effort.
When we're done the finished table will look something like this base from Airtable:
We will have the final images looking like this:

Sounds easy, and it is, so let's get started.
Create a Bannerbear Project
Bannerbear is an automated image generation service that helps you and your team auto-generate social media visuals, e-commerce banners, podcast videos and more. Bannerbear includes a free trial, no credit card required, that allows you to generate up to 30 images.
Sign in to your Bannerbear account to create a new project:
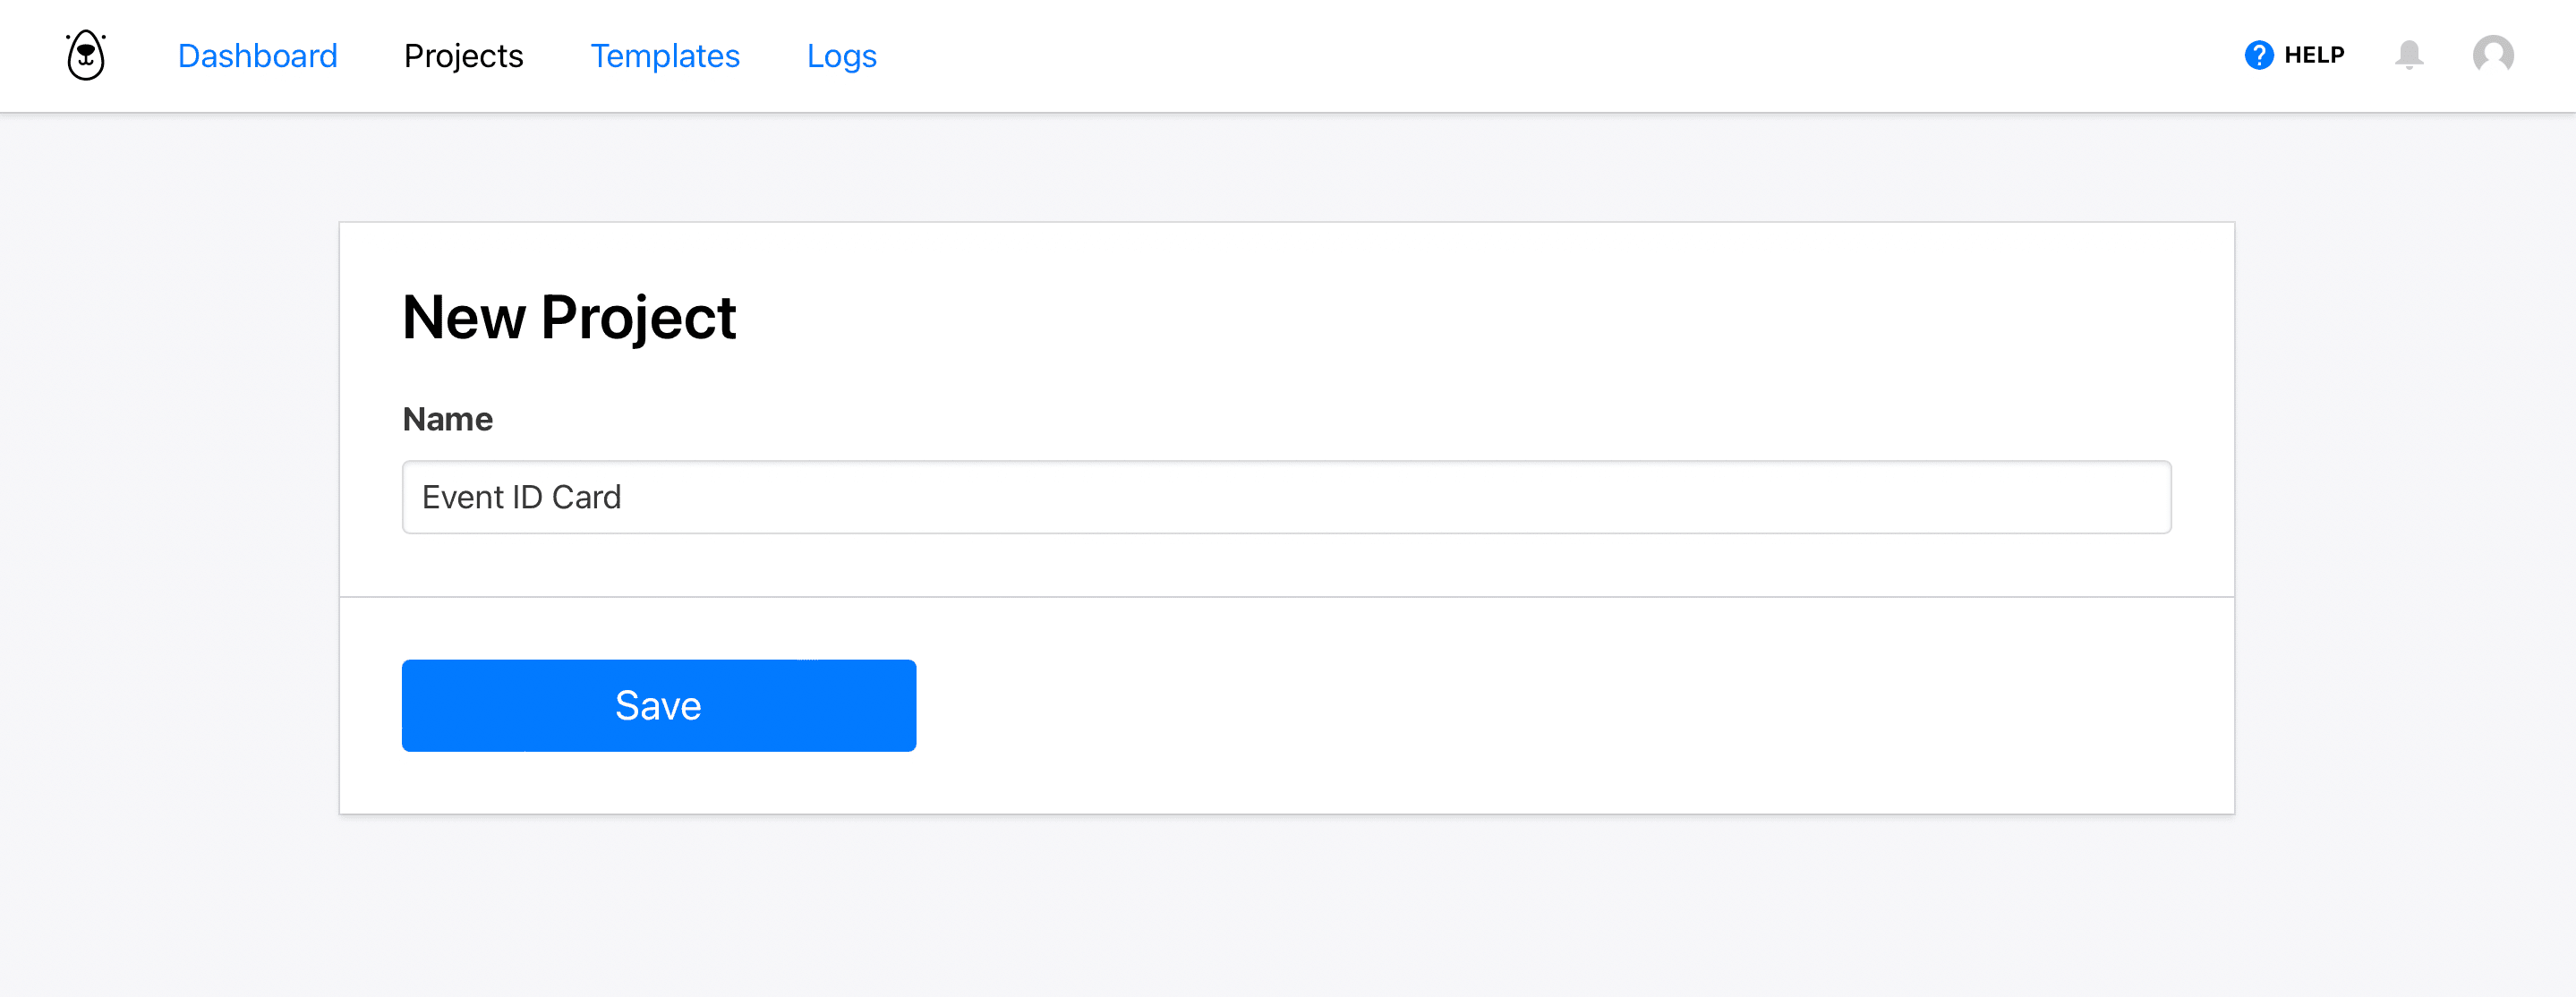
Click _ Save _.
With Bannerbear, every template you design becomes an API that you can auto-generate images and videos with.
Pick a template from the library
Bannerbear provides the flexibility of creating your own template using the Bannerbear template editor.
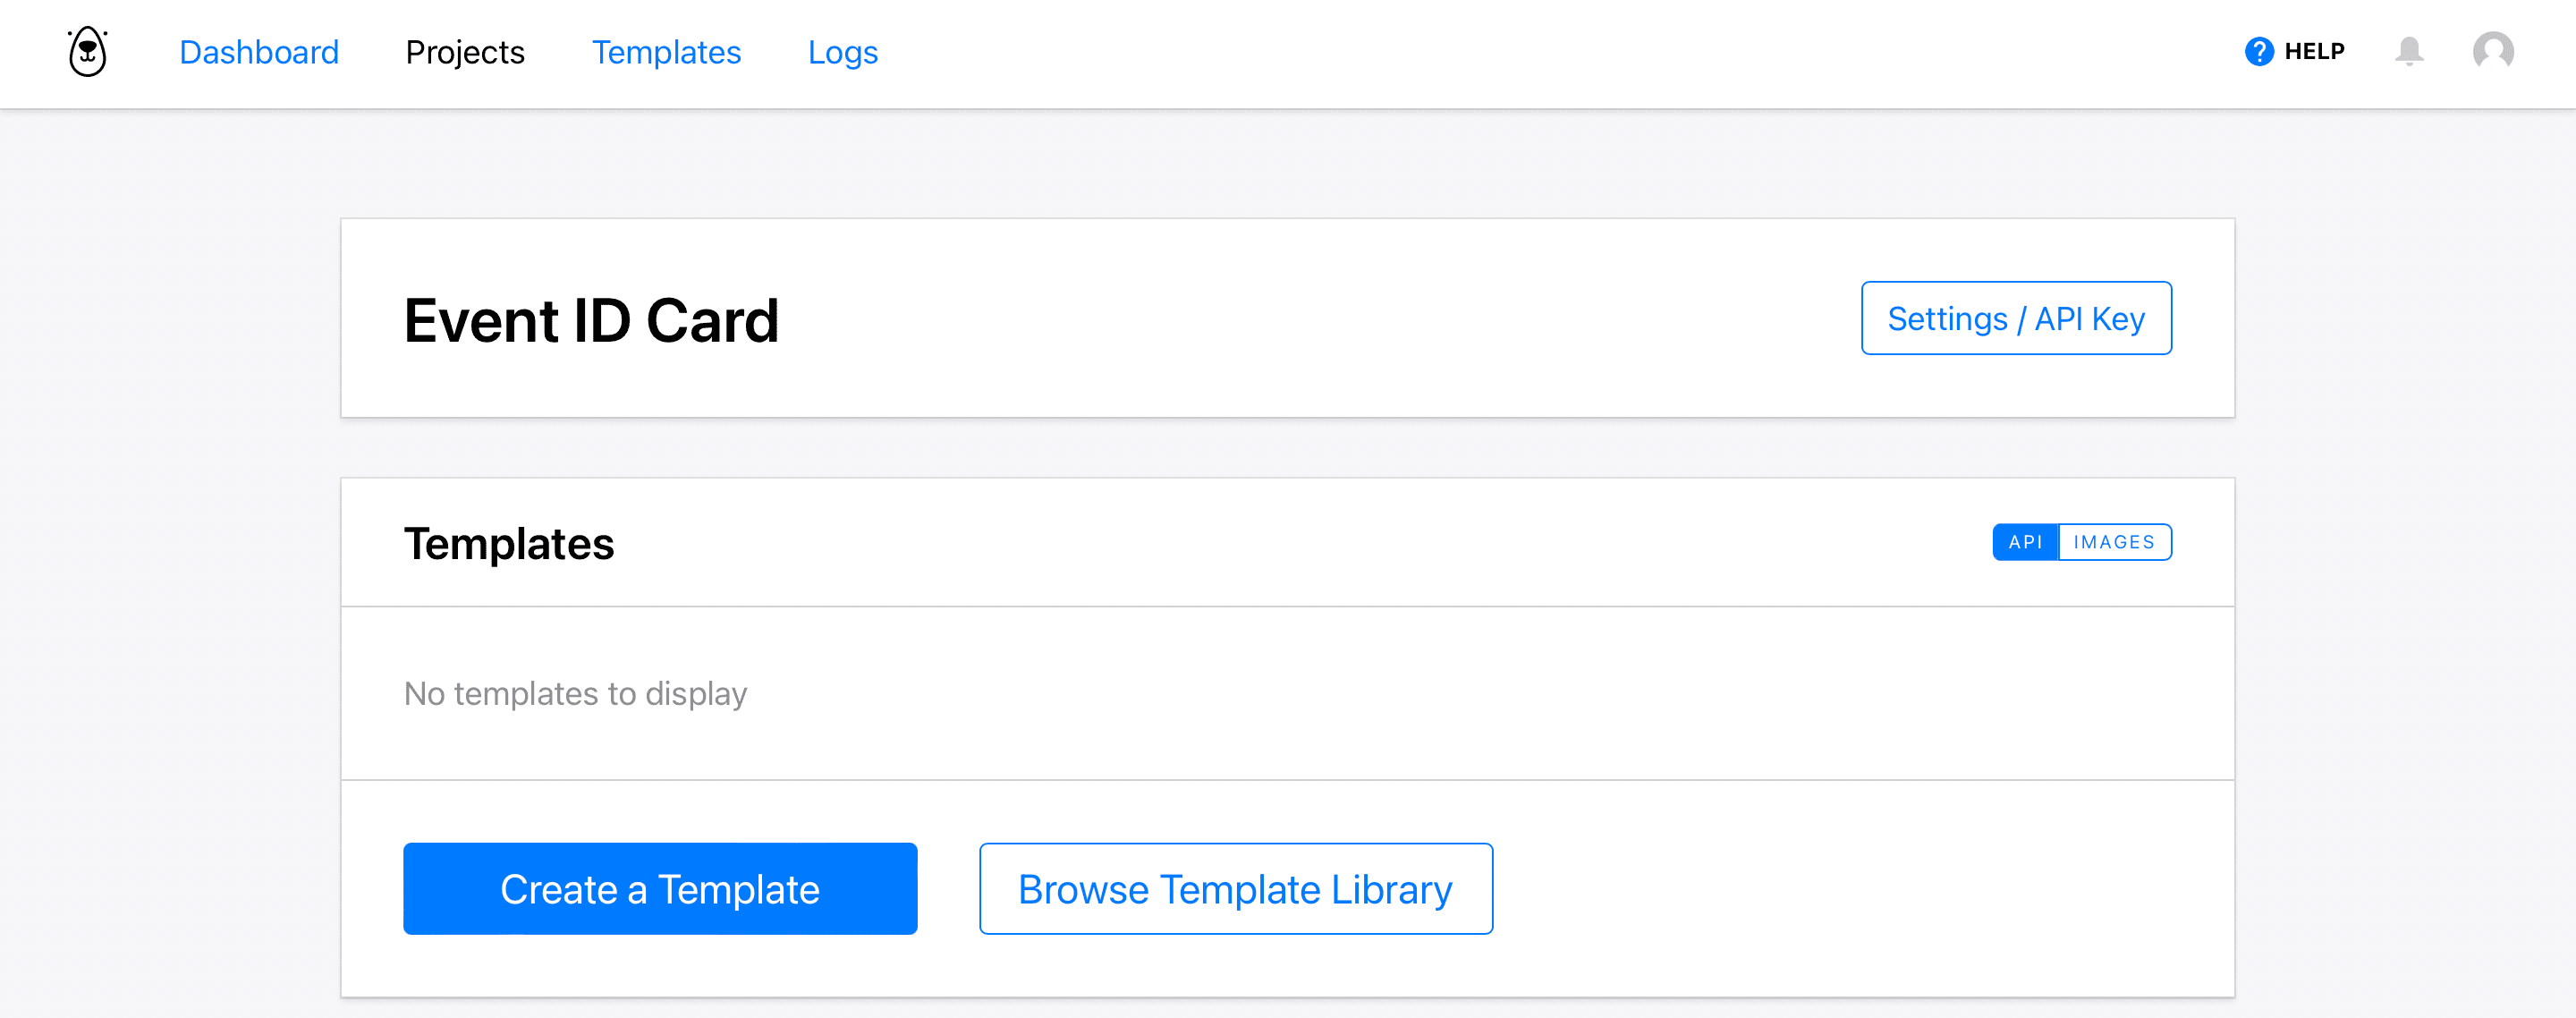
For this tutorial, let's keep things simple and use a sample template that you can customize. Click on _ Browse Template Library _:
The Airtable base you will create contains some dynamic information fields you should include on your ID card design:
- Full Name
- Attendee type
- Photo
Other static fields you may consider include:
- Name of event
- Date
- Company logo
We will use an Event ID Card template to auto-generate images and videos with the Bannerbear marketing automation API.
Proceed to select one of the Event ID templates from the library:
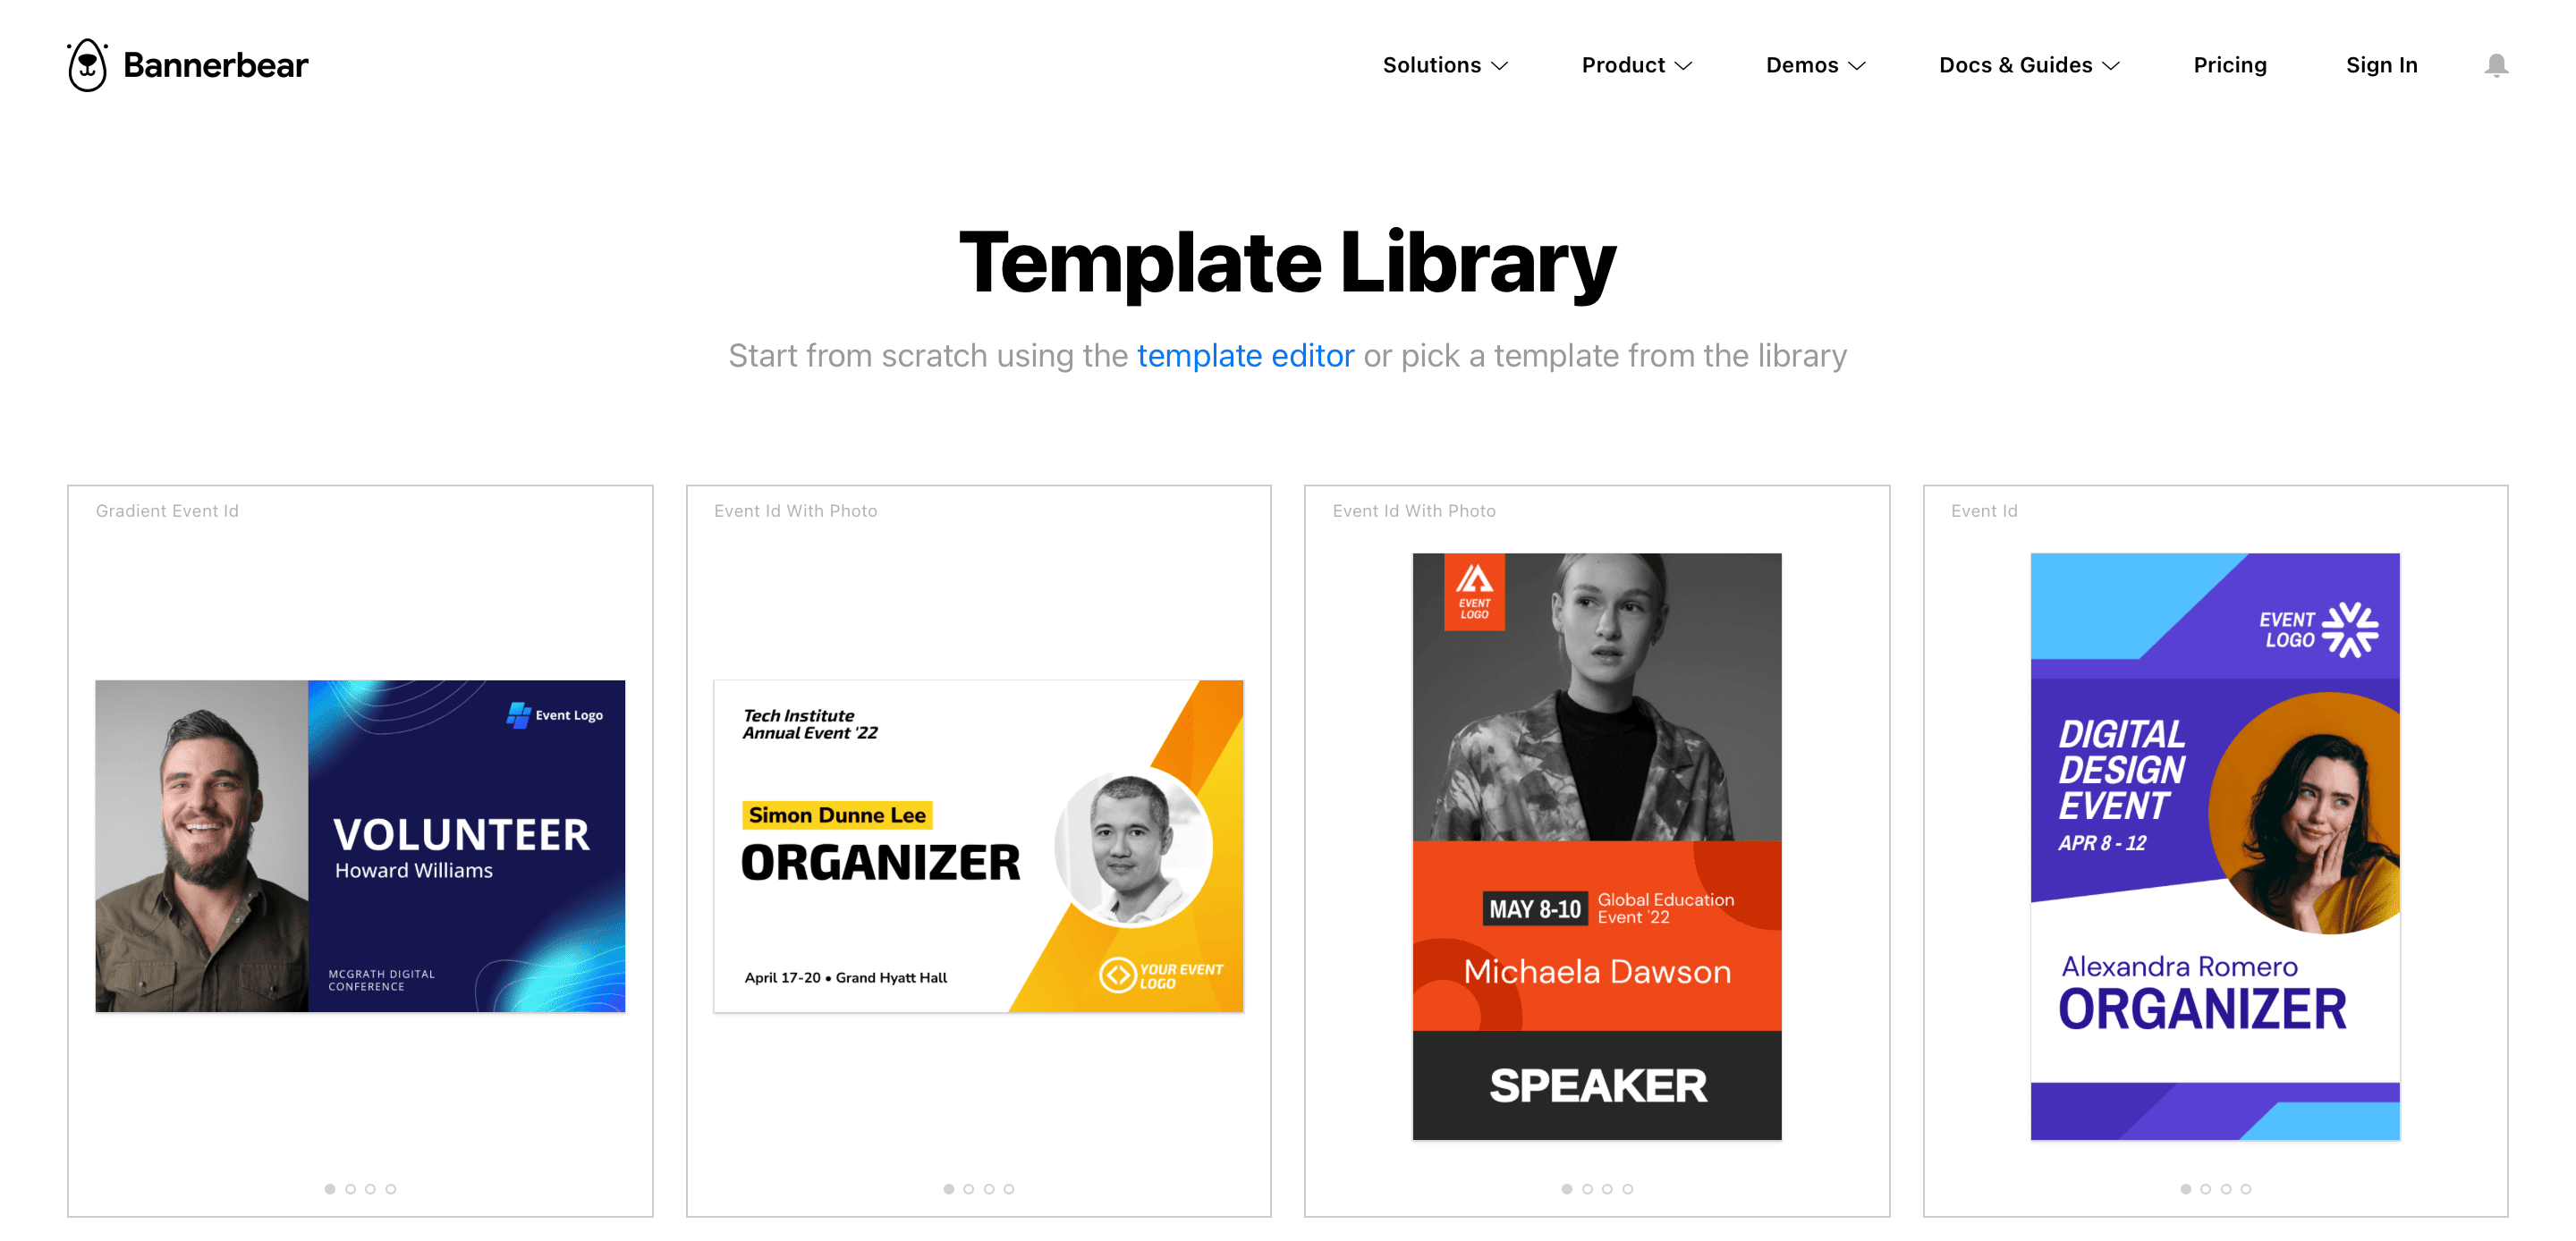
or, Simply click on the image below to add it to your project automatically:

You will then arrive at the editor. You can completely customize the IDs to fit your event’s branding. Here you can add your logo, customize the text, add a background, etc.
Set up Airtable Base
Airtable is a spreadsheet/relational database tool that's also an online collaboration tool. Using this basic technique, you can pass in hundreds or thousands of rows of data into Bannerbear and generate large batches of images in seconds.
Create the attendee list on Airtable
To get started, you need to collate a list of attendees.
- Open the Events Tracker template
- Click Copy base in the upper right corner
- Select the workspace you want to add this Base to
- Add the relevant columns and fill them in with the attendee’s information
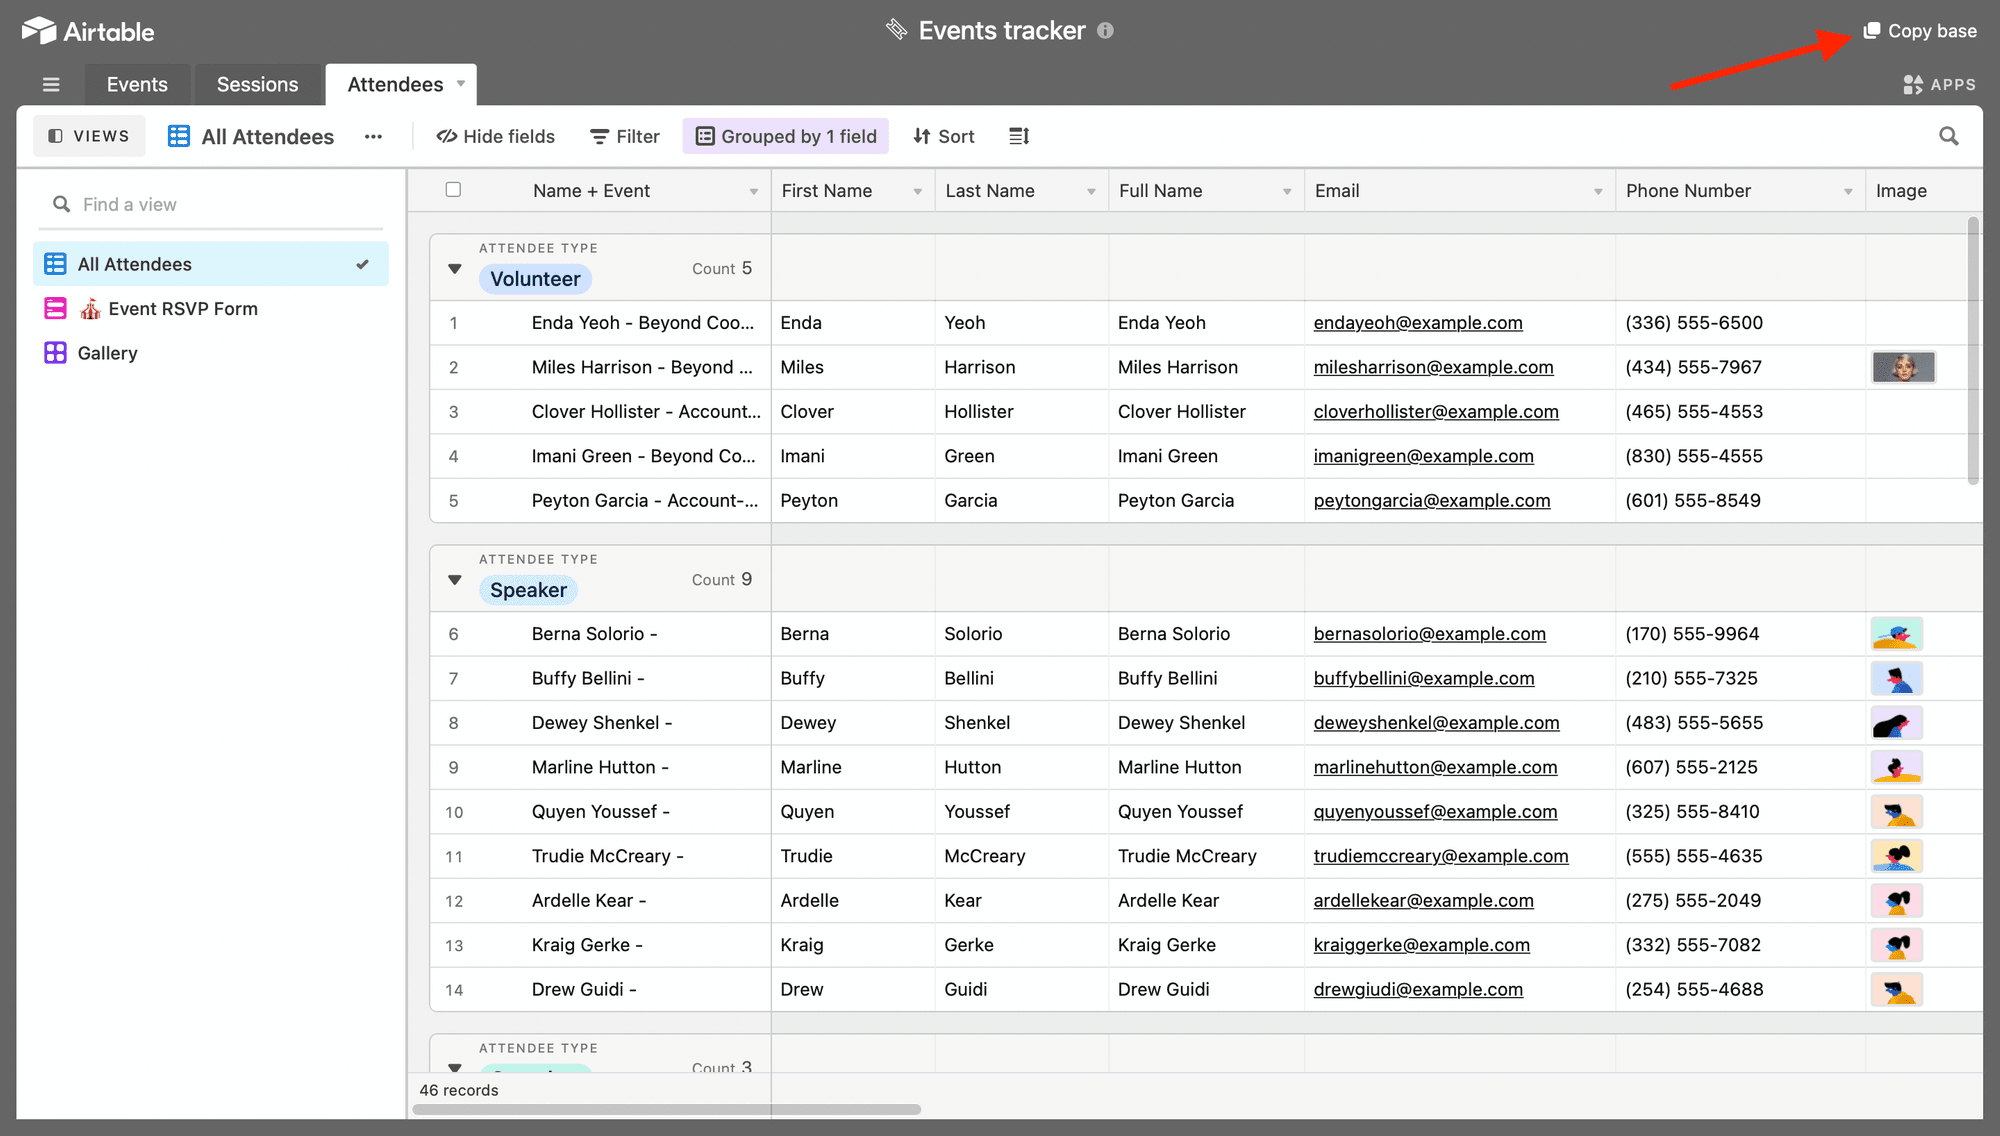
In the table, you will also see these fields:
- first name, last name
- Date Created - generated automatically
- Bannerbear-img-url - Choose where to send generated images which must be a URL field in Airtable
- Image
- Attendee Type
- Checkbox ☑ column named imported
- Unique ID - created using the formula field type to pull the first 3 letters of the attendee’s first name, last name and attendee type, as well as the created time in days, hours and seconds -
LEFT({First Name},3) & LEFT({Last Name},3) & LEFT({Attendee Type},3) & DATETIME_FORMAT({Date Created},'DDhhss')
After you set up the base, you can choose to import an existing attendee list from Google Sheets or Excel into Airtable. Alternatively, you can manually type them in, although the former is advisable.
🐻 Bear Tip : If you’re new to importing files into Airtable, we have outlined 5 practical ways to import data into an existing Airtable base.
Create an Event RSVP form
For new attendees, you want to create access for them to submit their details so that it populates your Airtable fields automatically. If you copied the Event Tracker base to your workspace, you should already have access to the Event RSVP form:
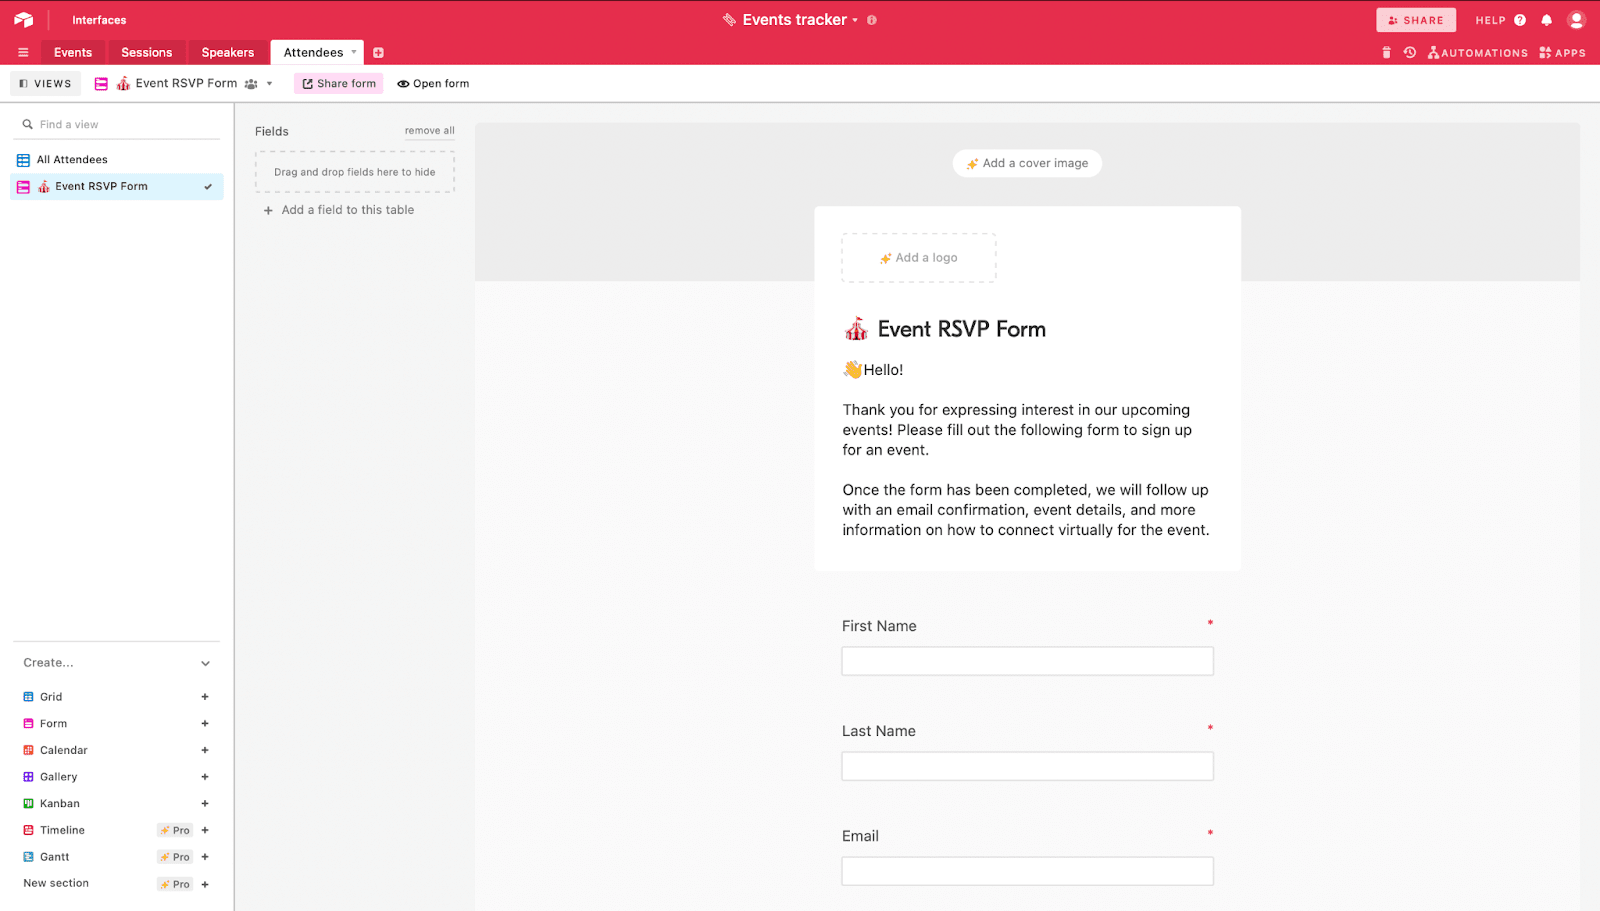
To share this form with attendees,
- Go to the Event RSVP Form view
- Click on Share form
- Click on Embed this form on your site
- Copy the Embed Code and paste it into your website.
When an attendee completes their registration and clicks submit, a new row of information will be added to the Airtable file.
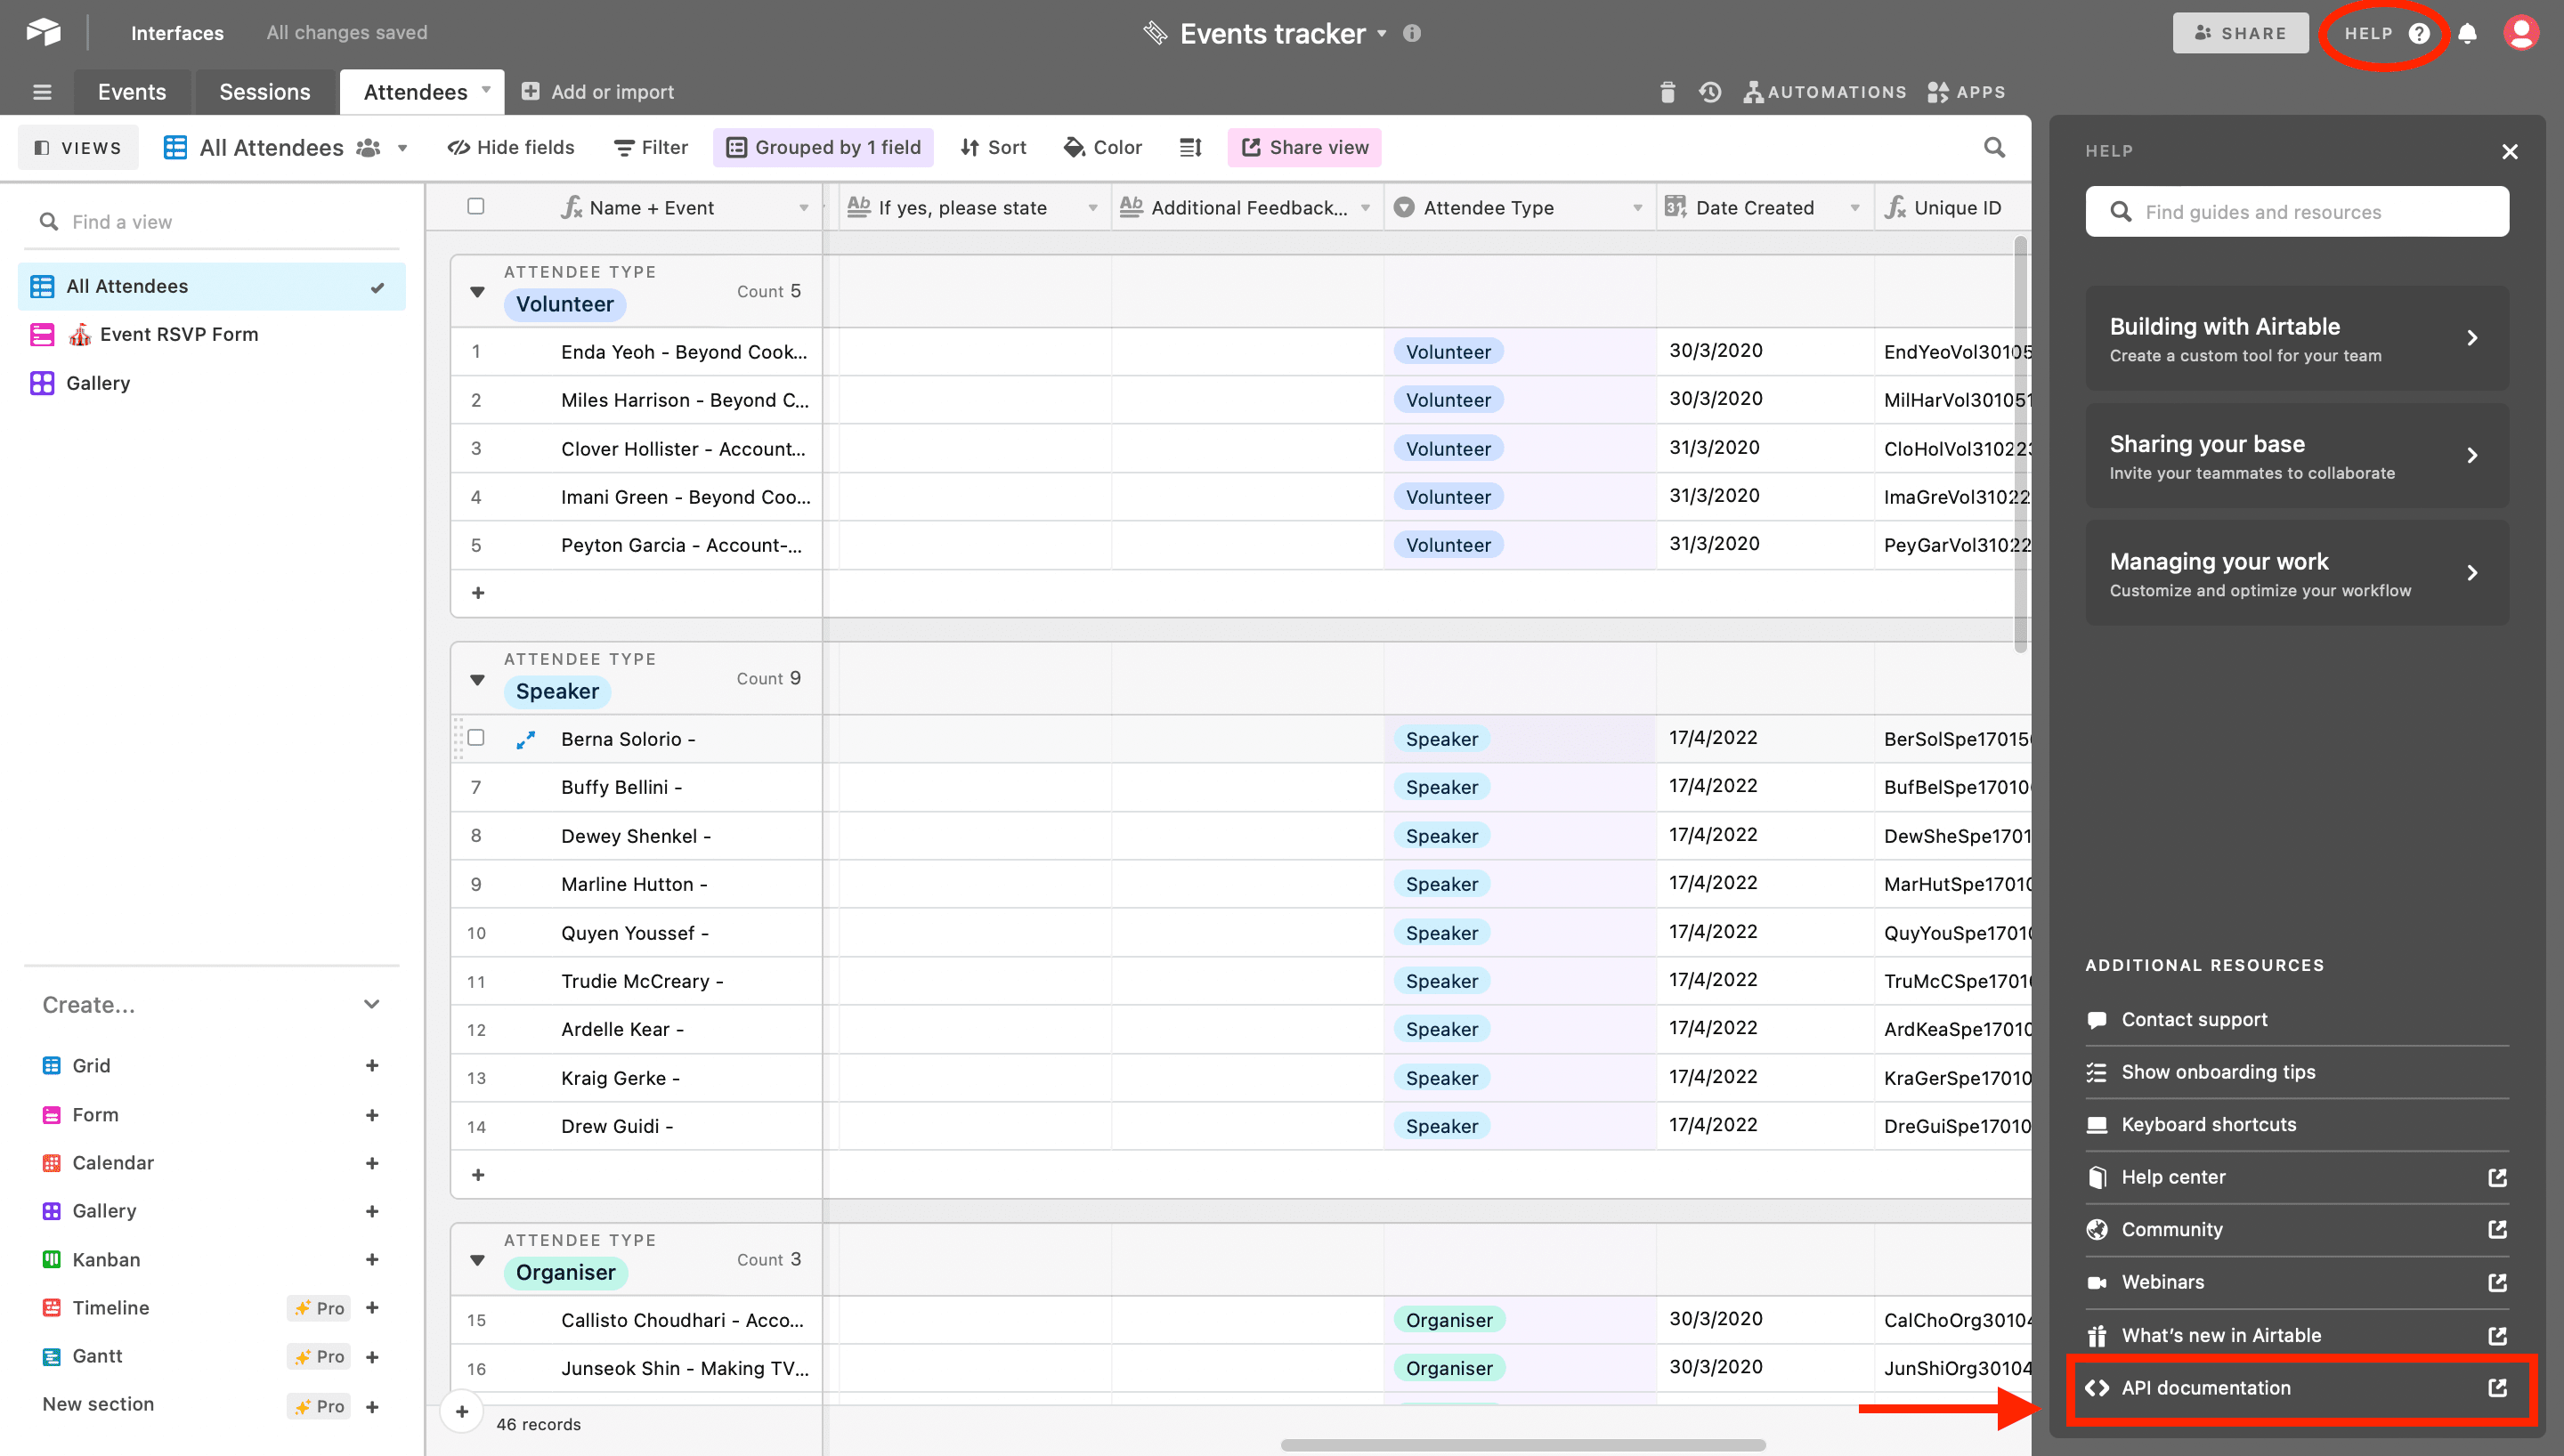
Copy the Base ID and Table Name
Every Airtable Base has a special Base ID and Table Name that you need to use to connect with the Bannerbear Template.
You can find the Base ID in the API Documentation on Airtable. Click the ‘Help’ button to reveal the sidebar:
The Base ID generally looks something like this: app123456789ABC
It is an alphanumeric ID with the word app at the start and is shown at the top of the Airtable API Documentation page:
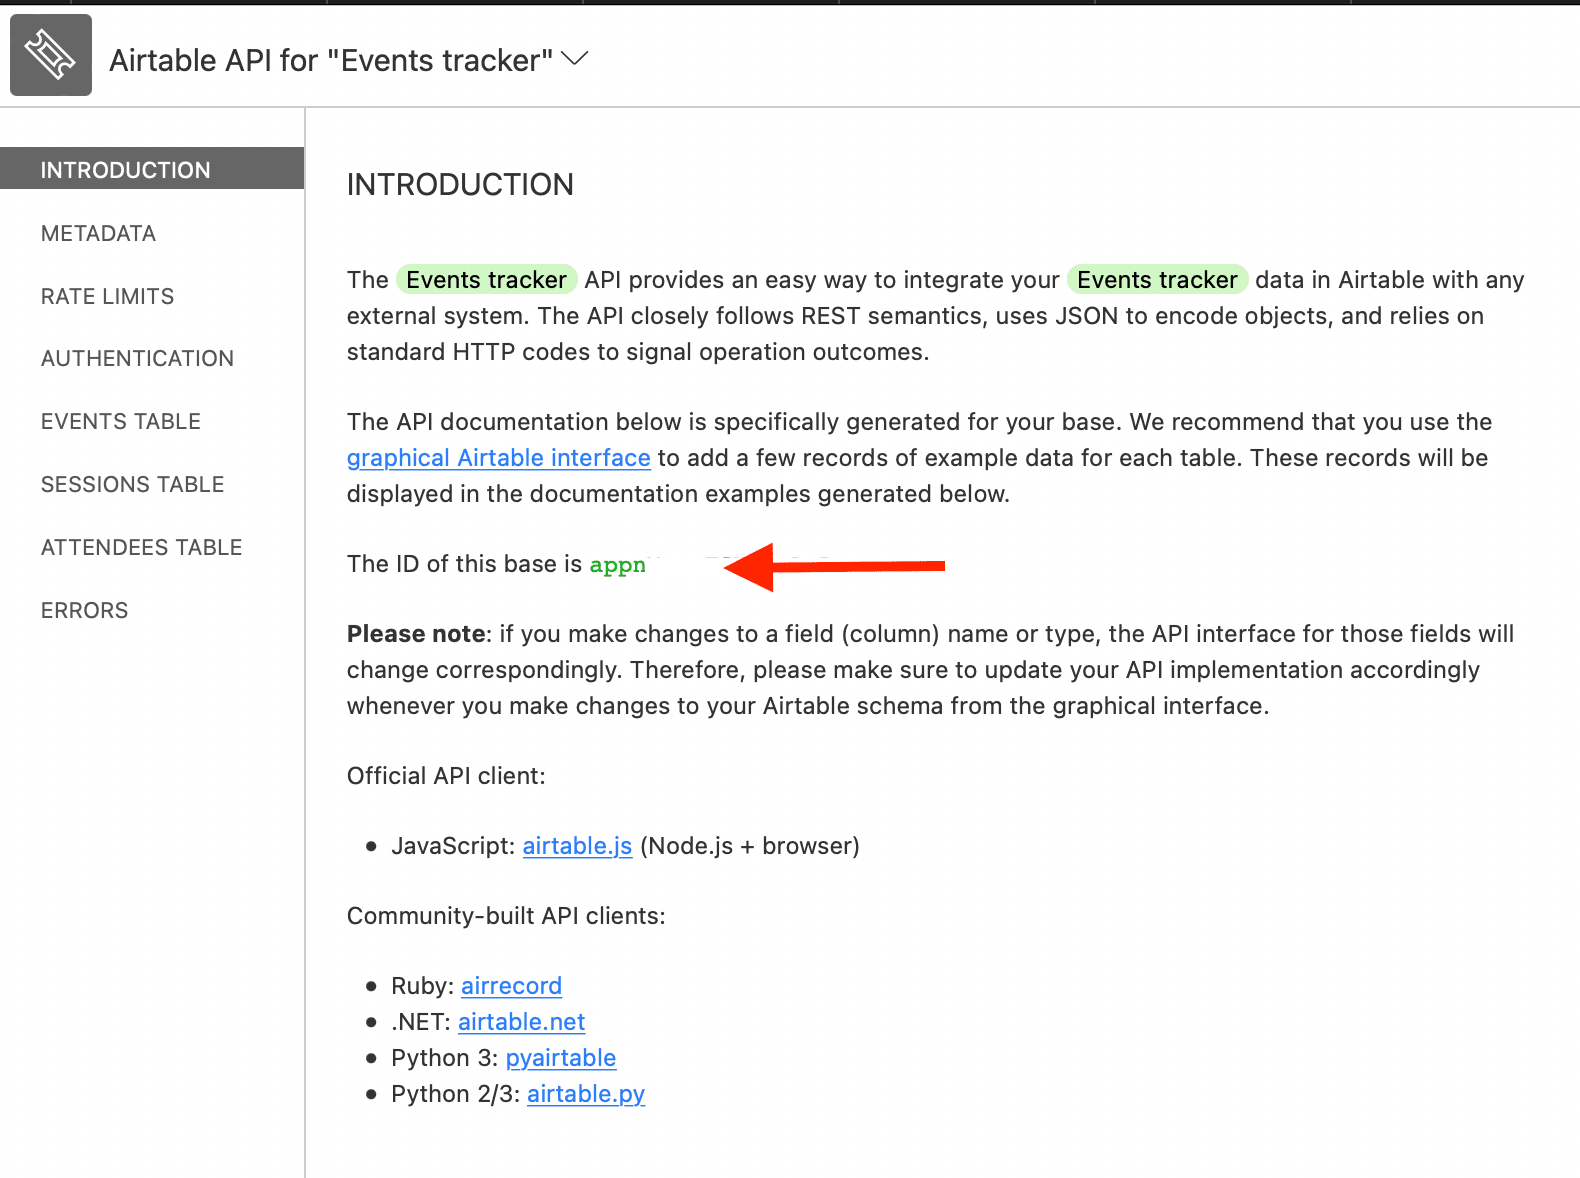
The Table Name is the sheet / tab name inside the Airtable Base that you are using. In this case, the table name is _ Attendees _ and the view is _ All Attendees _.
Copy the base ID and table name details to your clipboard, you will need them later.
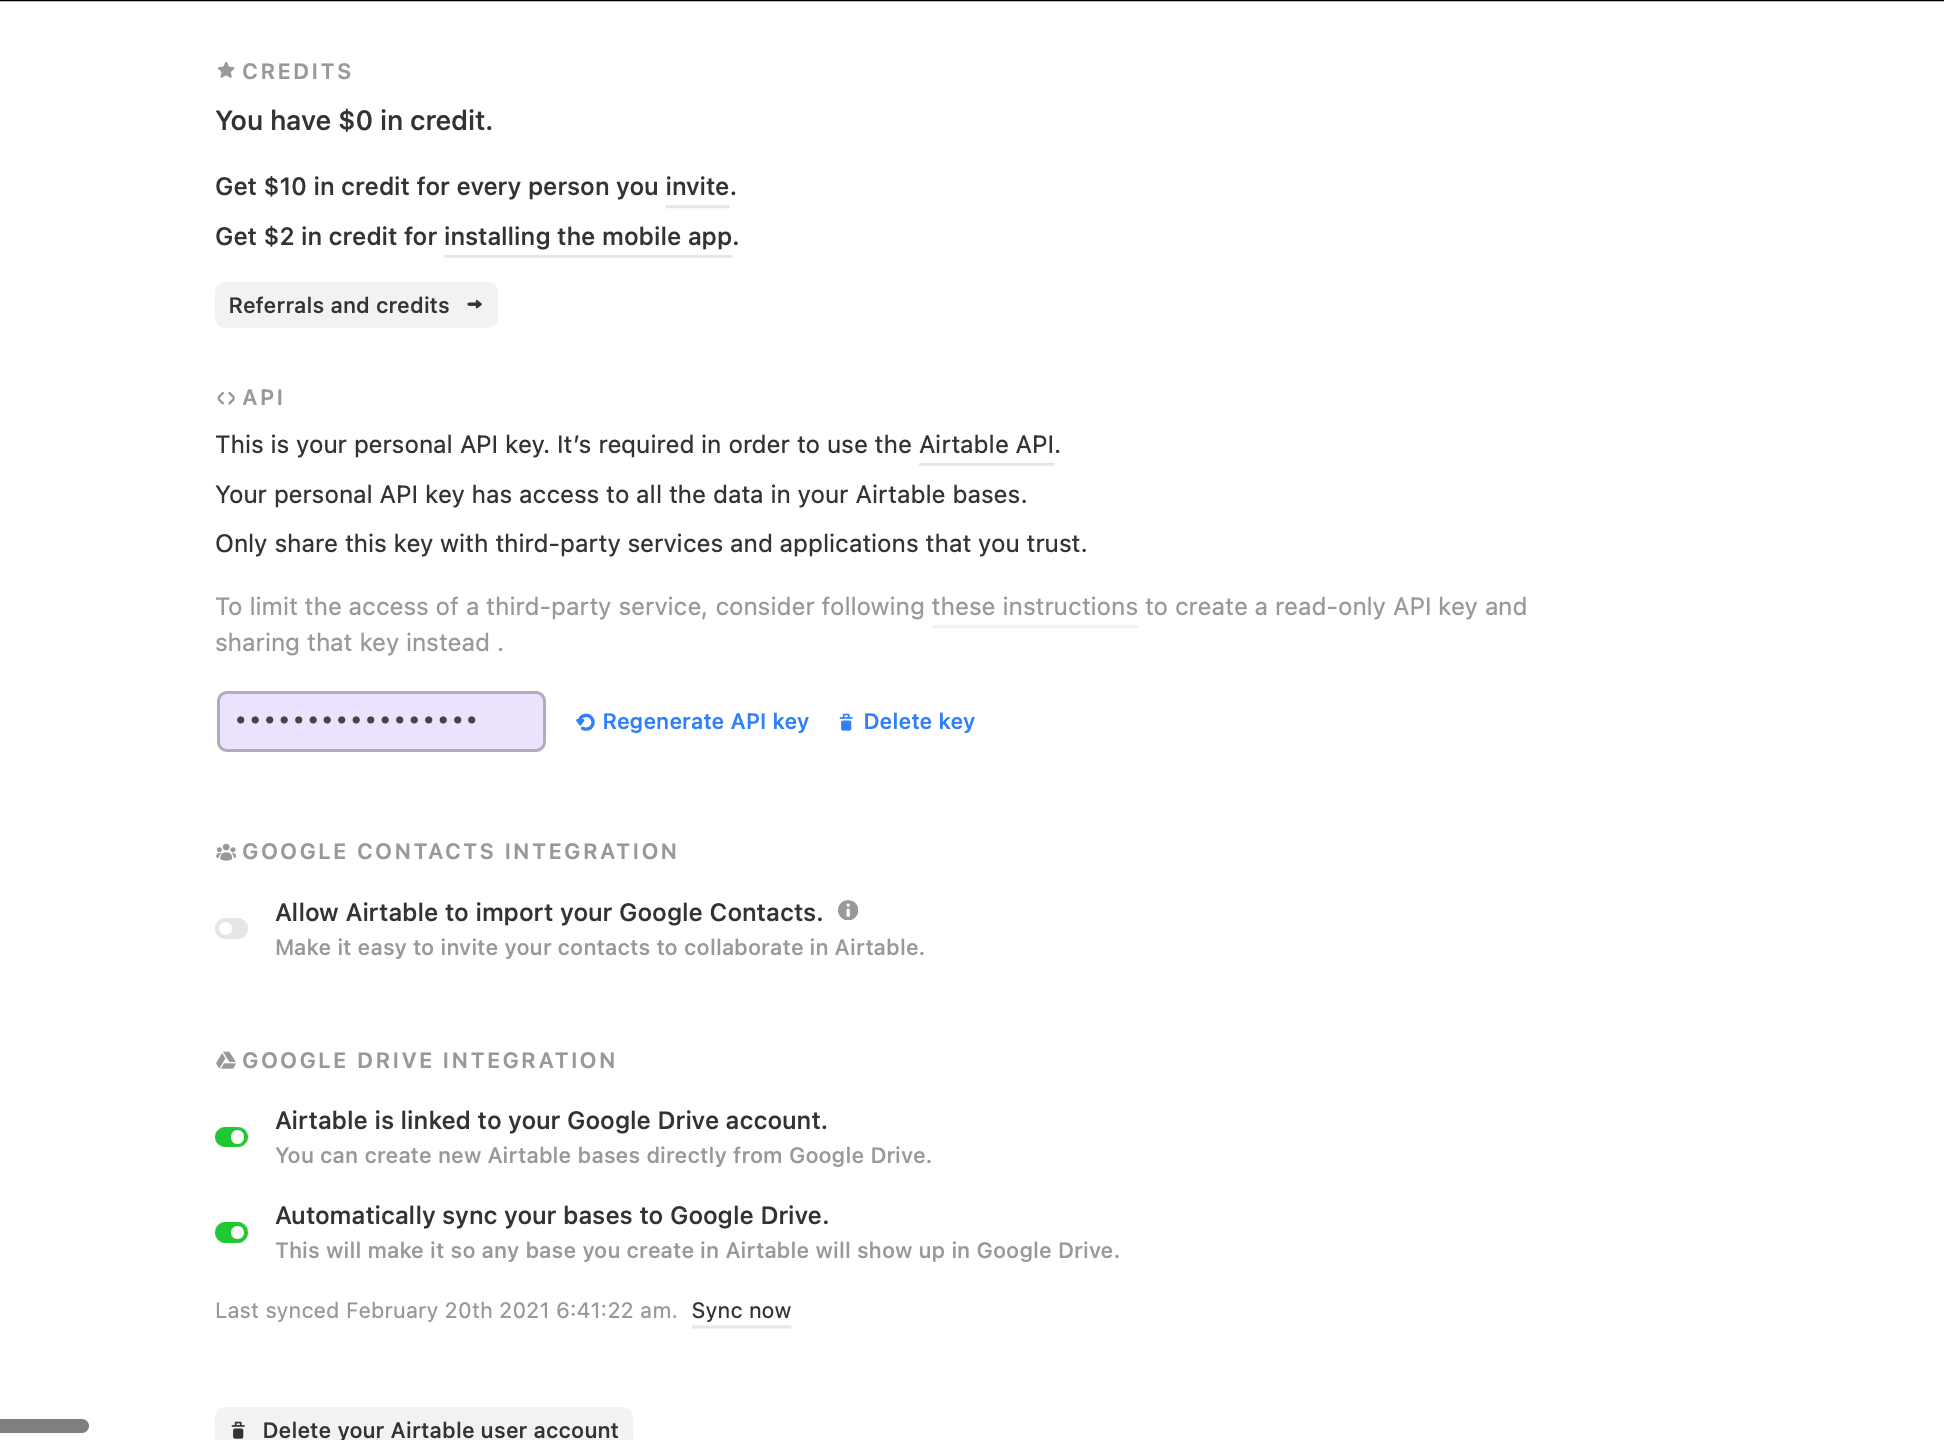
Get Airtable API Key
Next, you will need to grab some Airtable credentials to integrate with Bannerbear. You can find your Airtable API Key in the Account section of Airtable.
Copy the key to your clipboard:
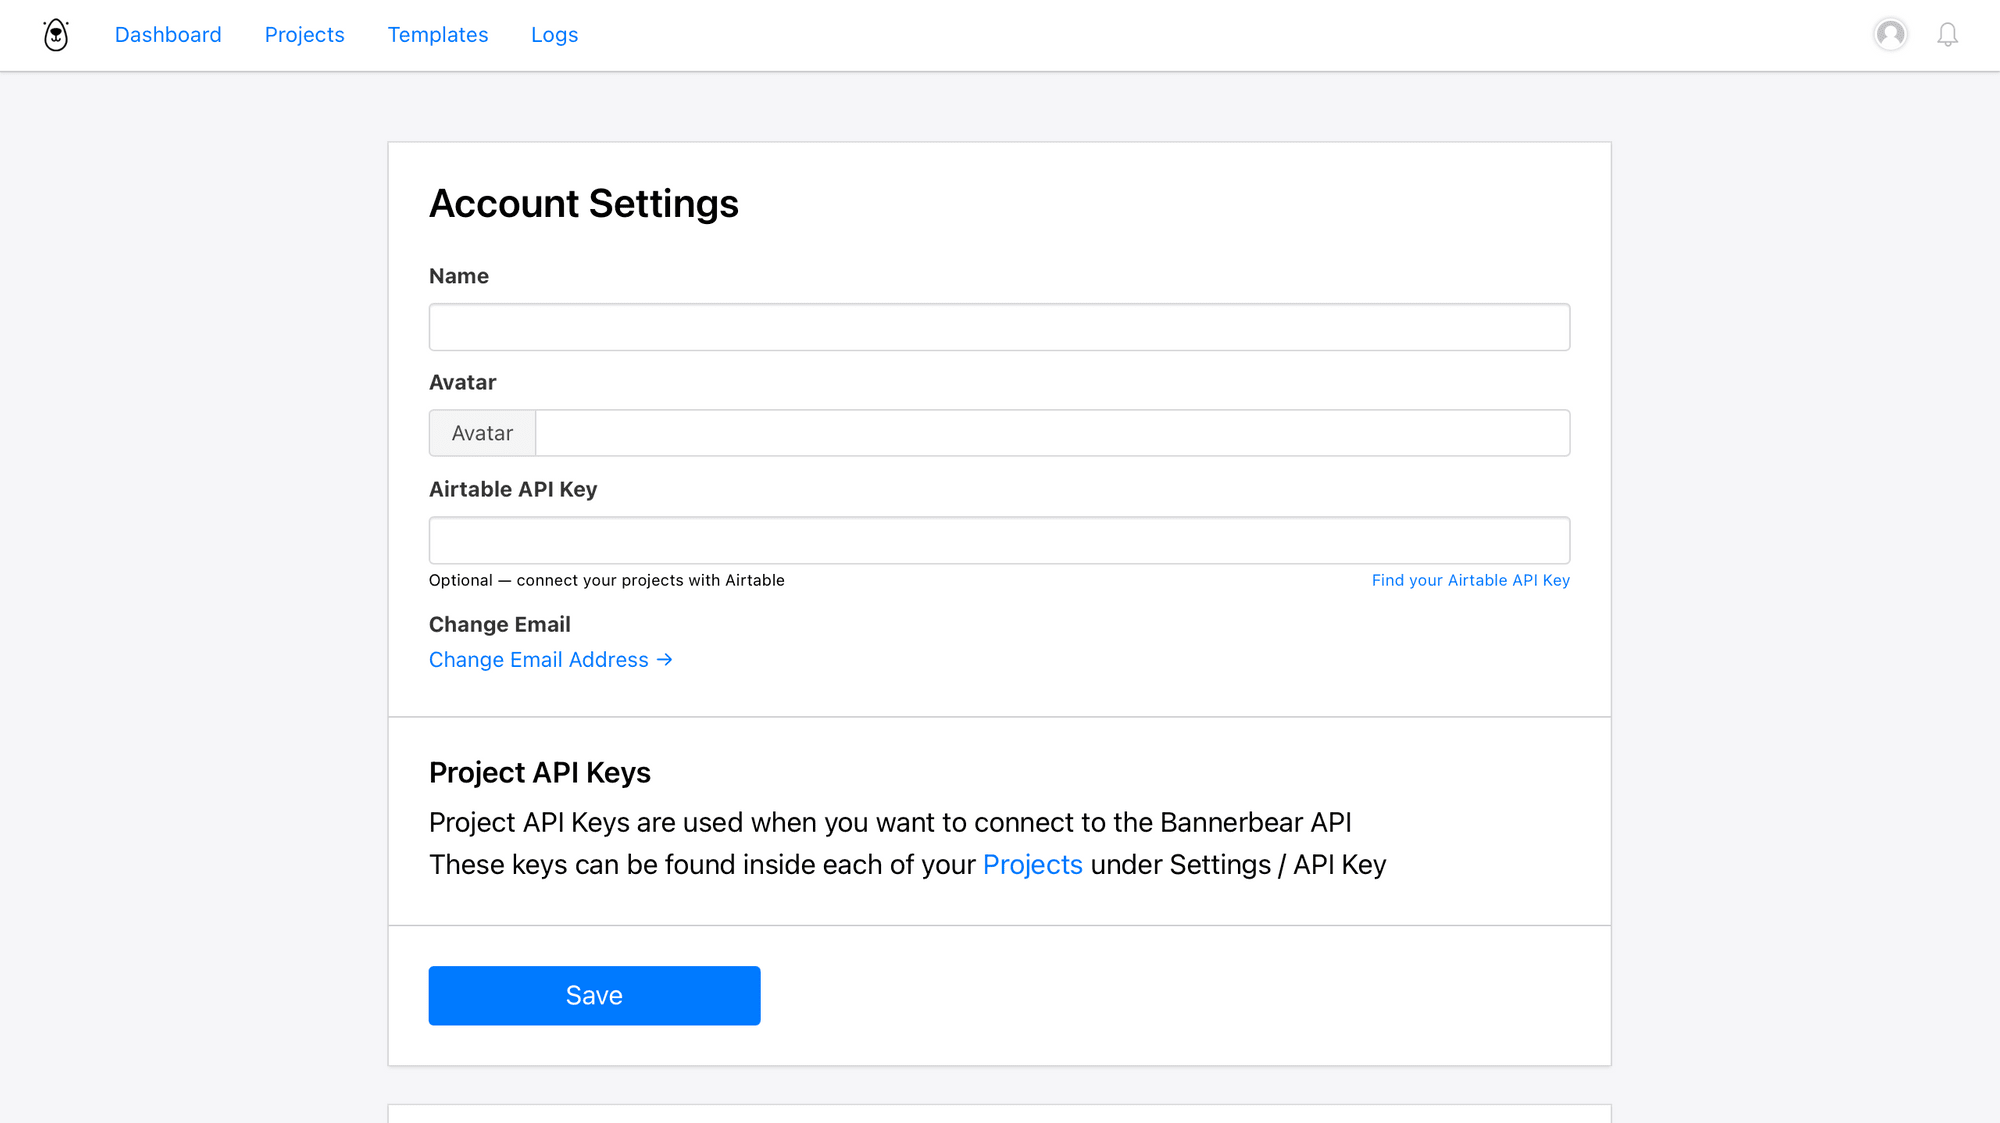
Next, add the Airtable API Key to Bannerbear in the Account Settings section:
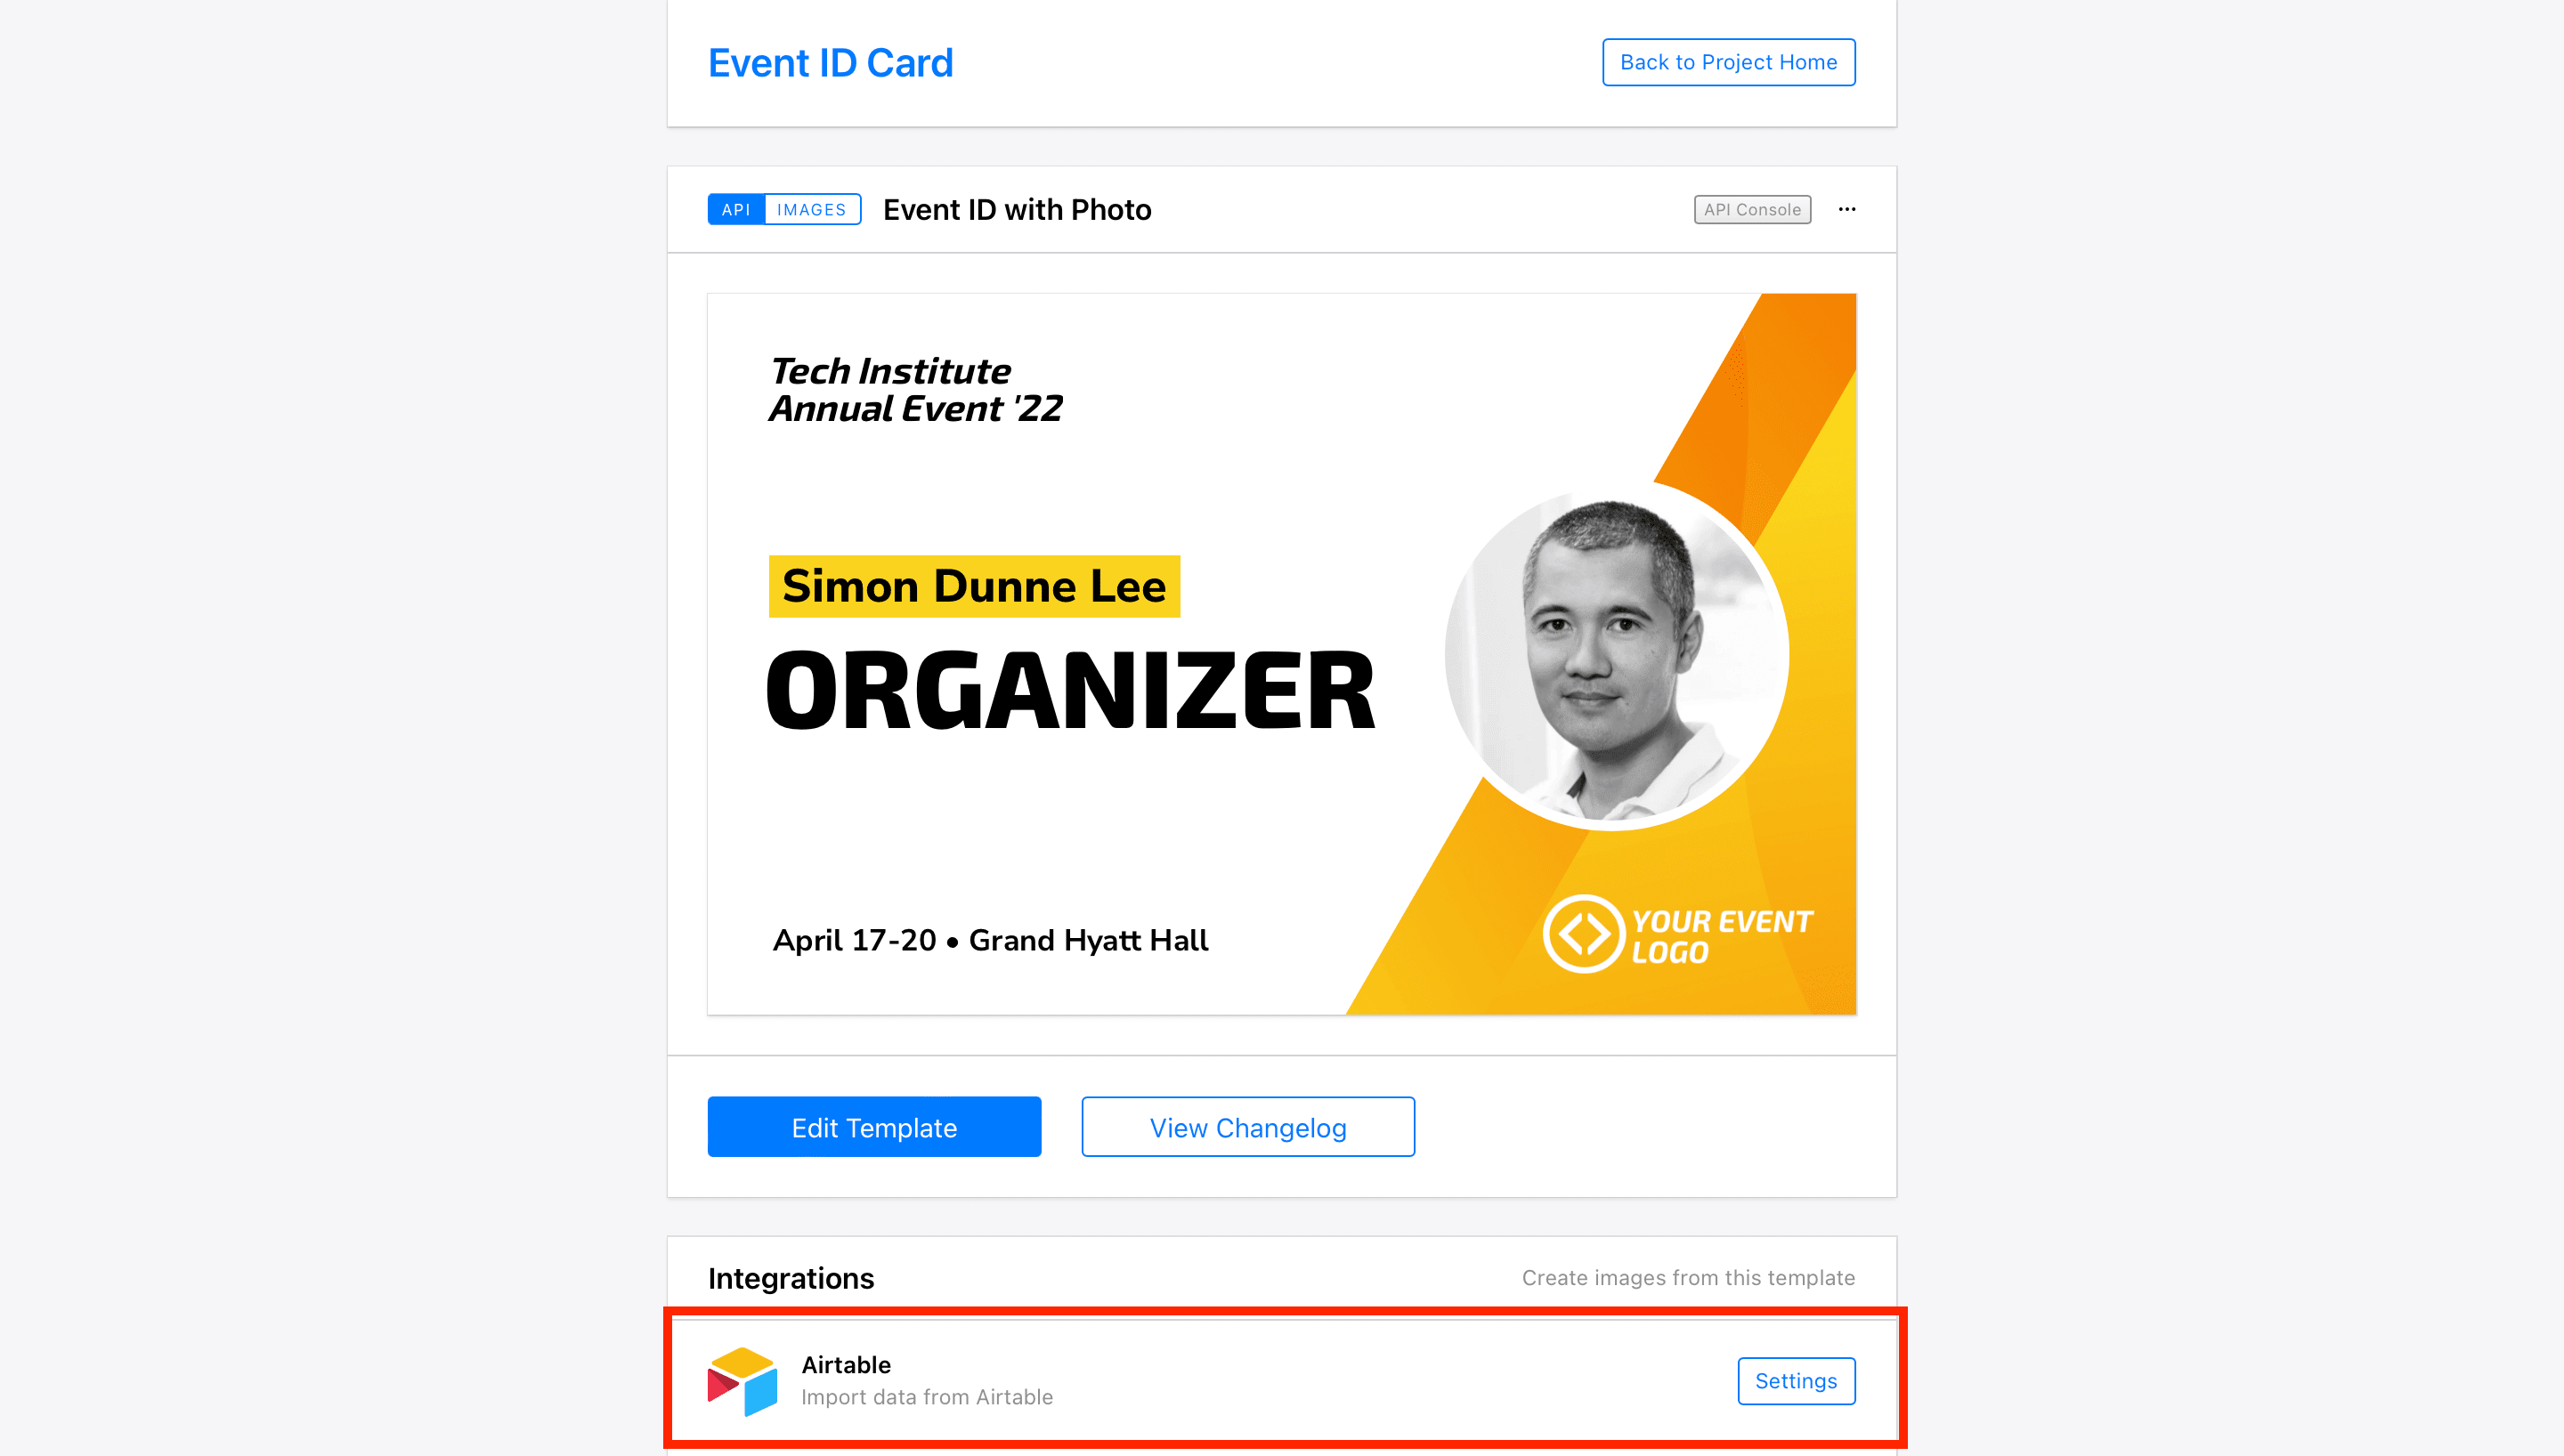
Connect Airtable to the template
Back on your template page, scroll down to find the list of integrations. Click on _ Settings _ to go to the Airtable integration page:
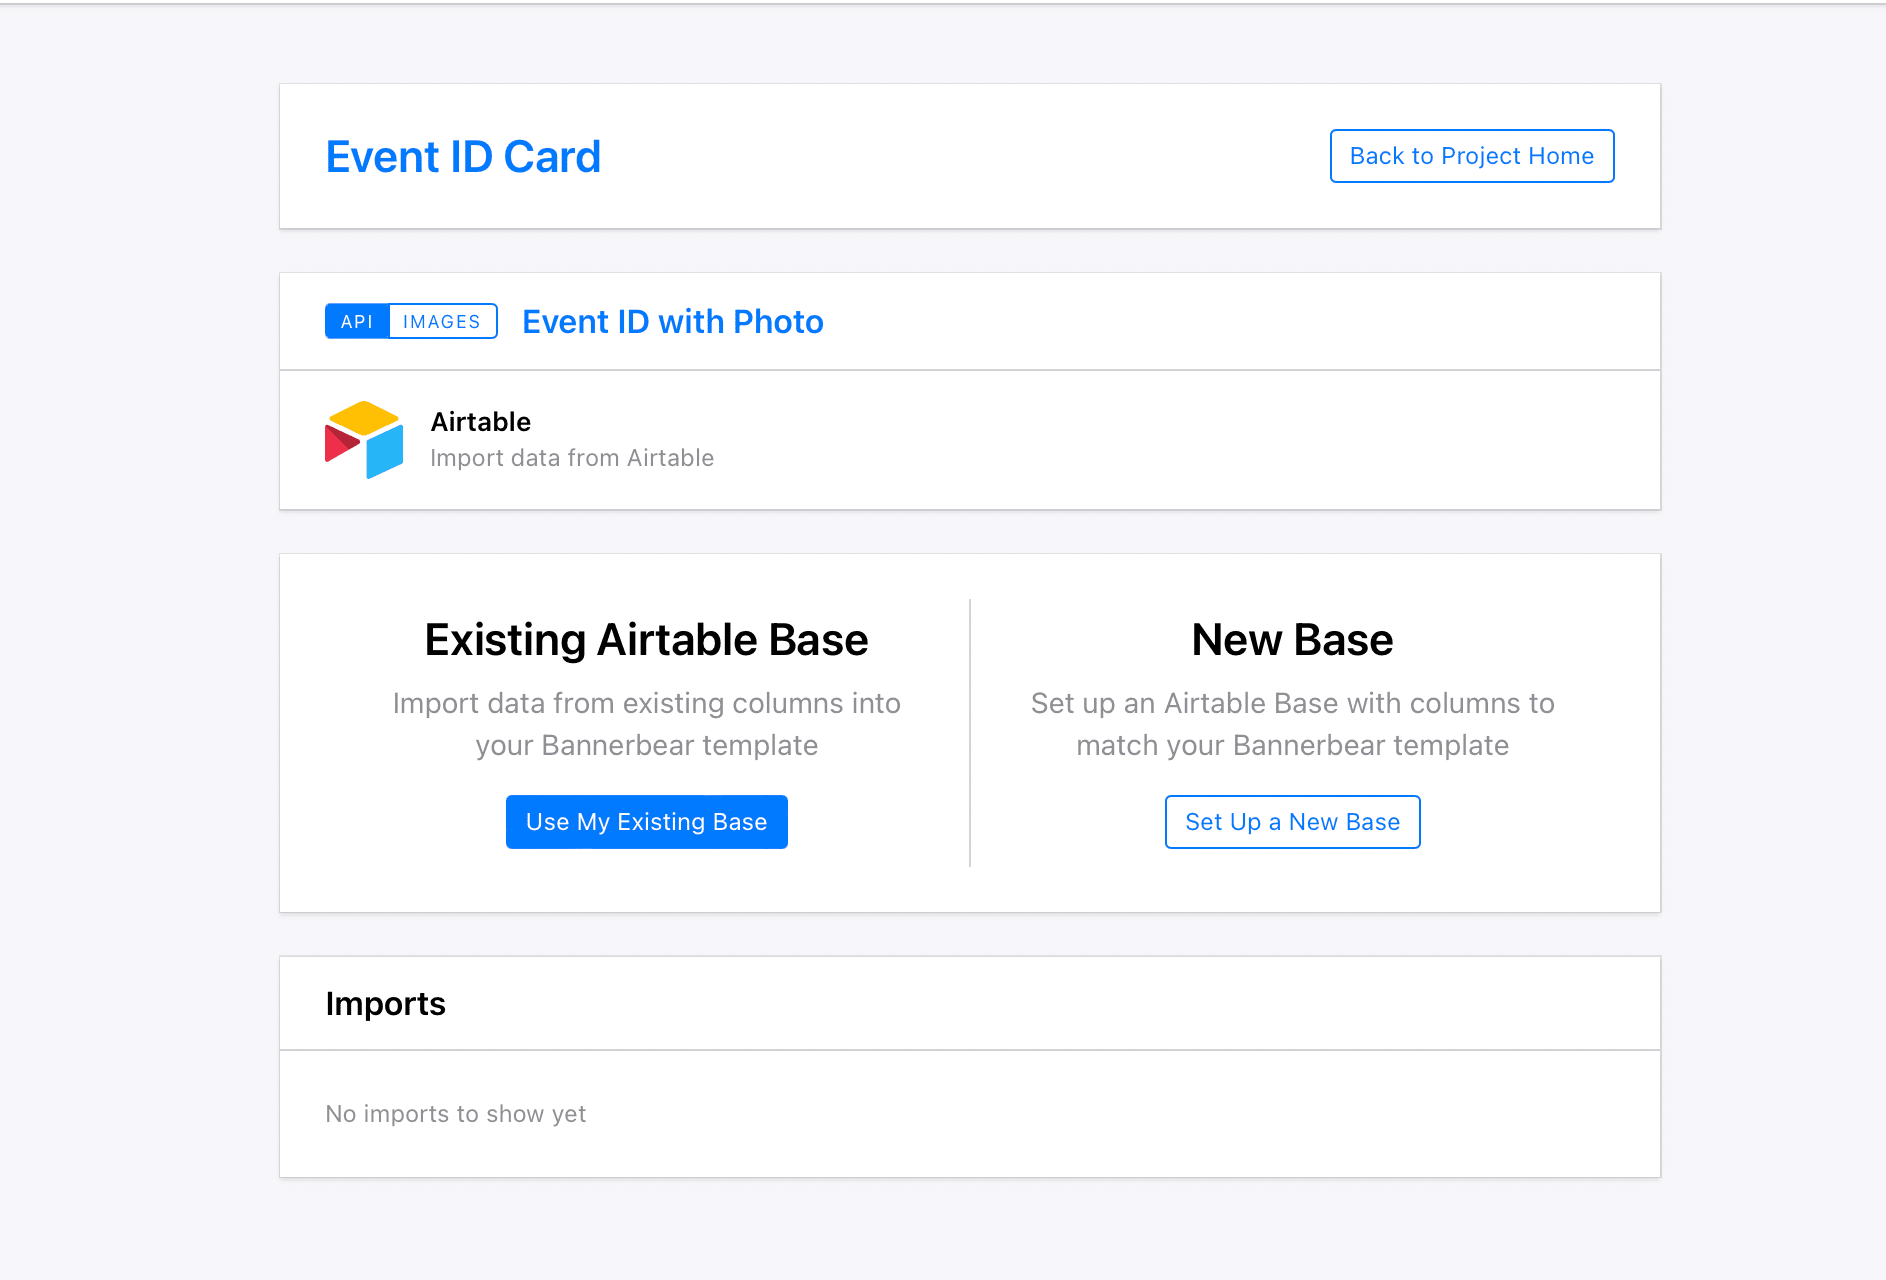
Click on ‘use my existing base’ to import data from existing columns into your Bannerbear template:
Input the Airtable table name and Base ID details into Bannerbear, and the click Save & Connect:
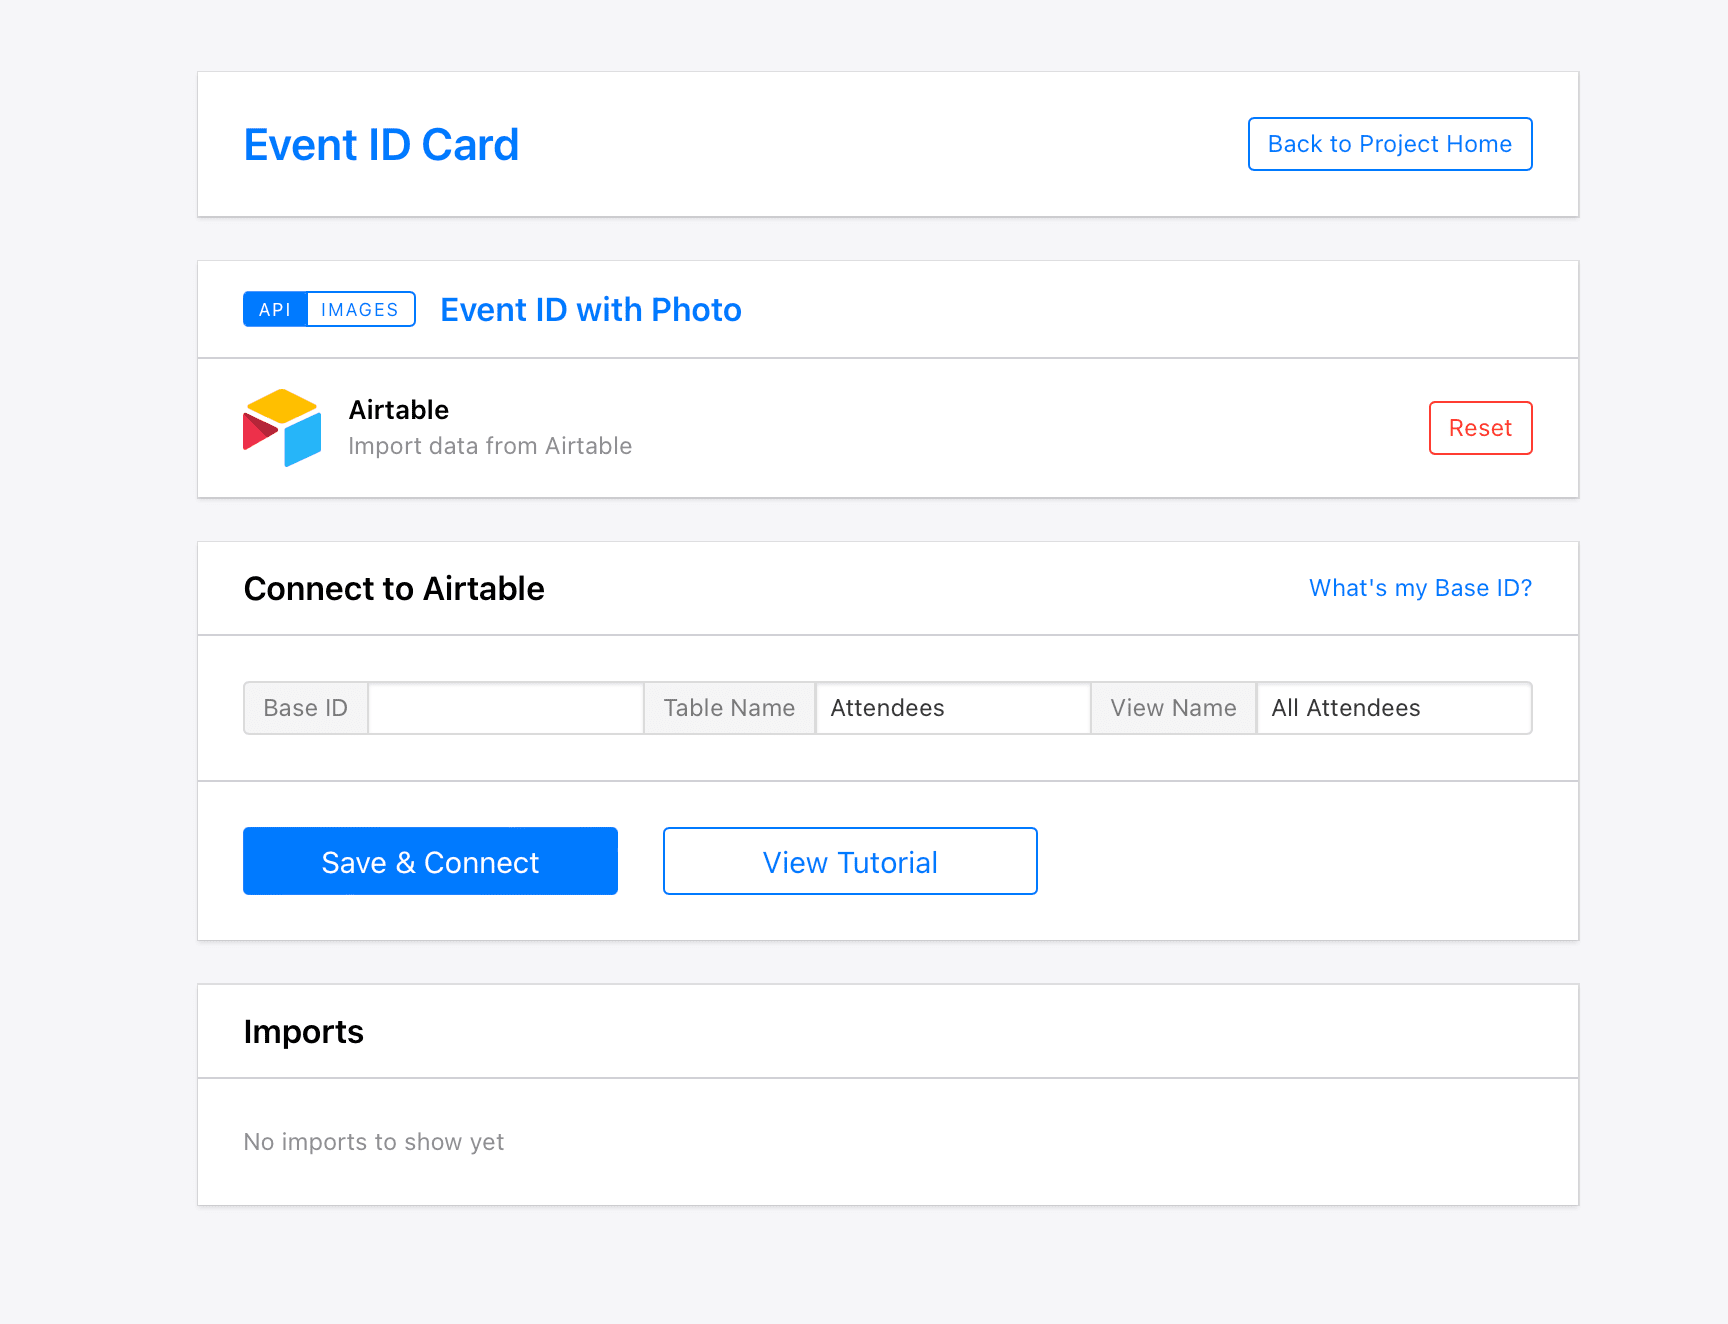
Map the name, event_role and image_container layers to the Airtable fields:
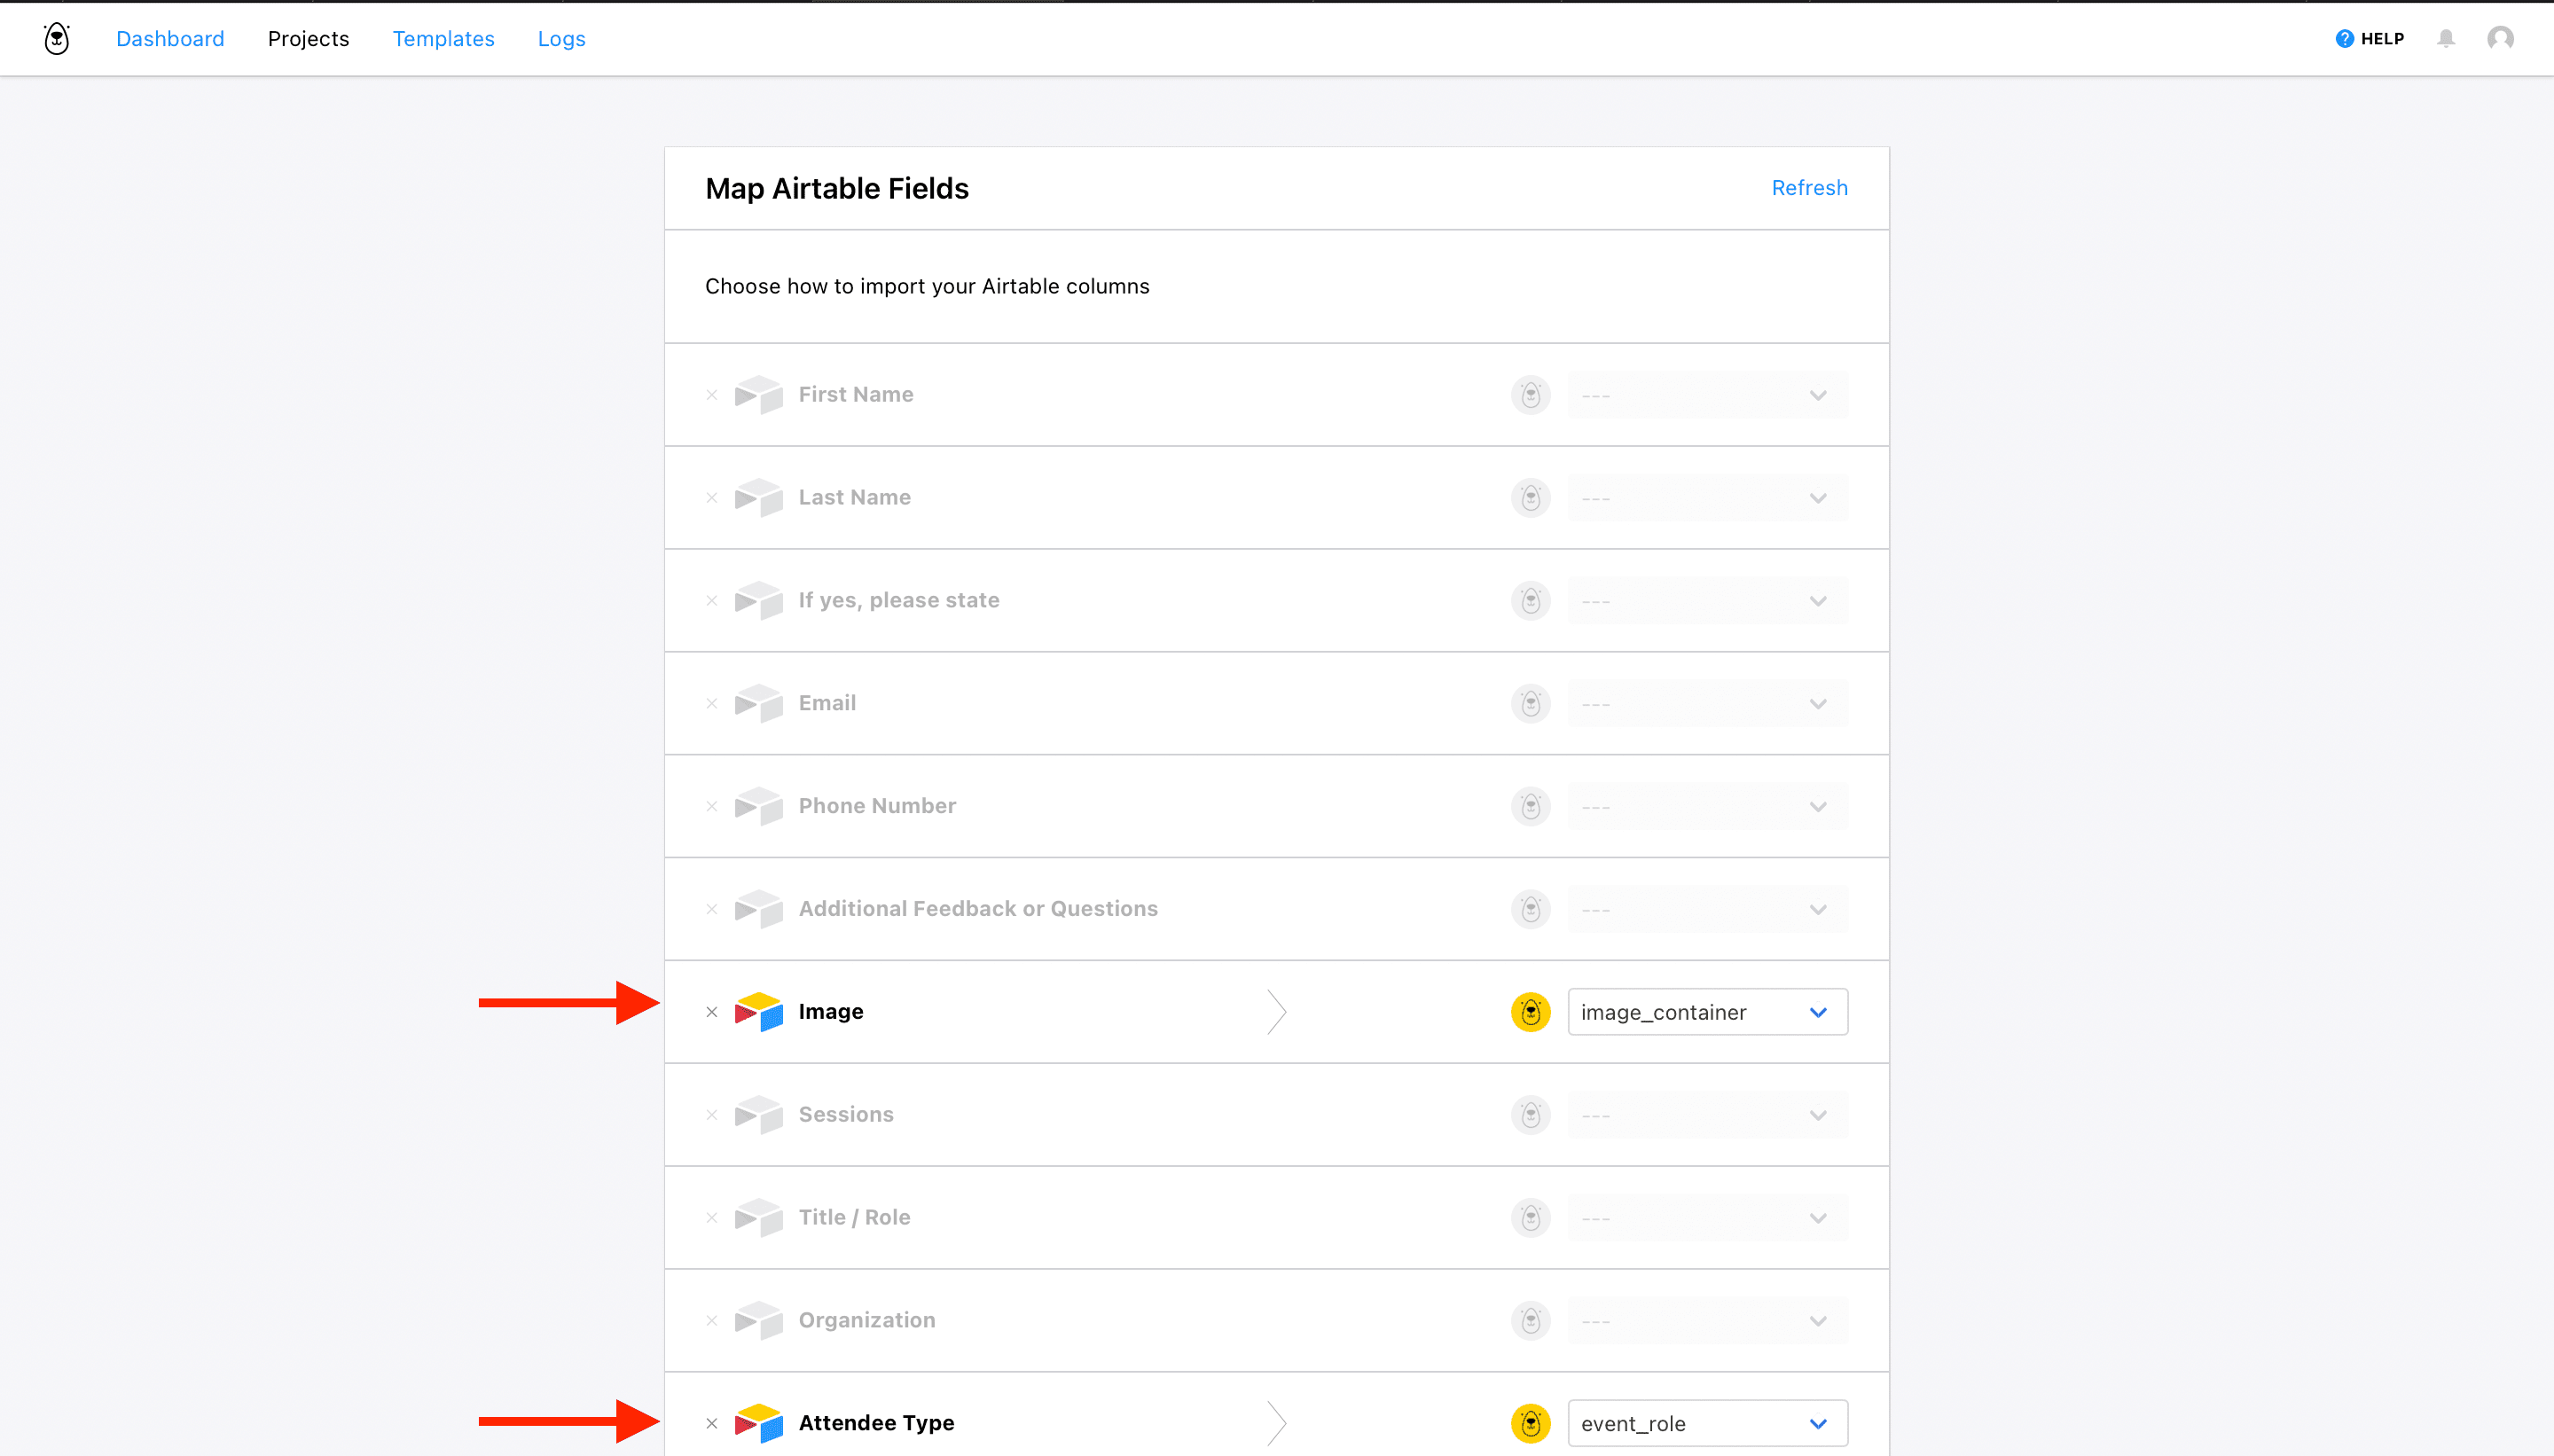
If your Airtable columns are not showing, enter some dummy data in the column and refresh.
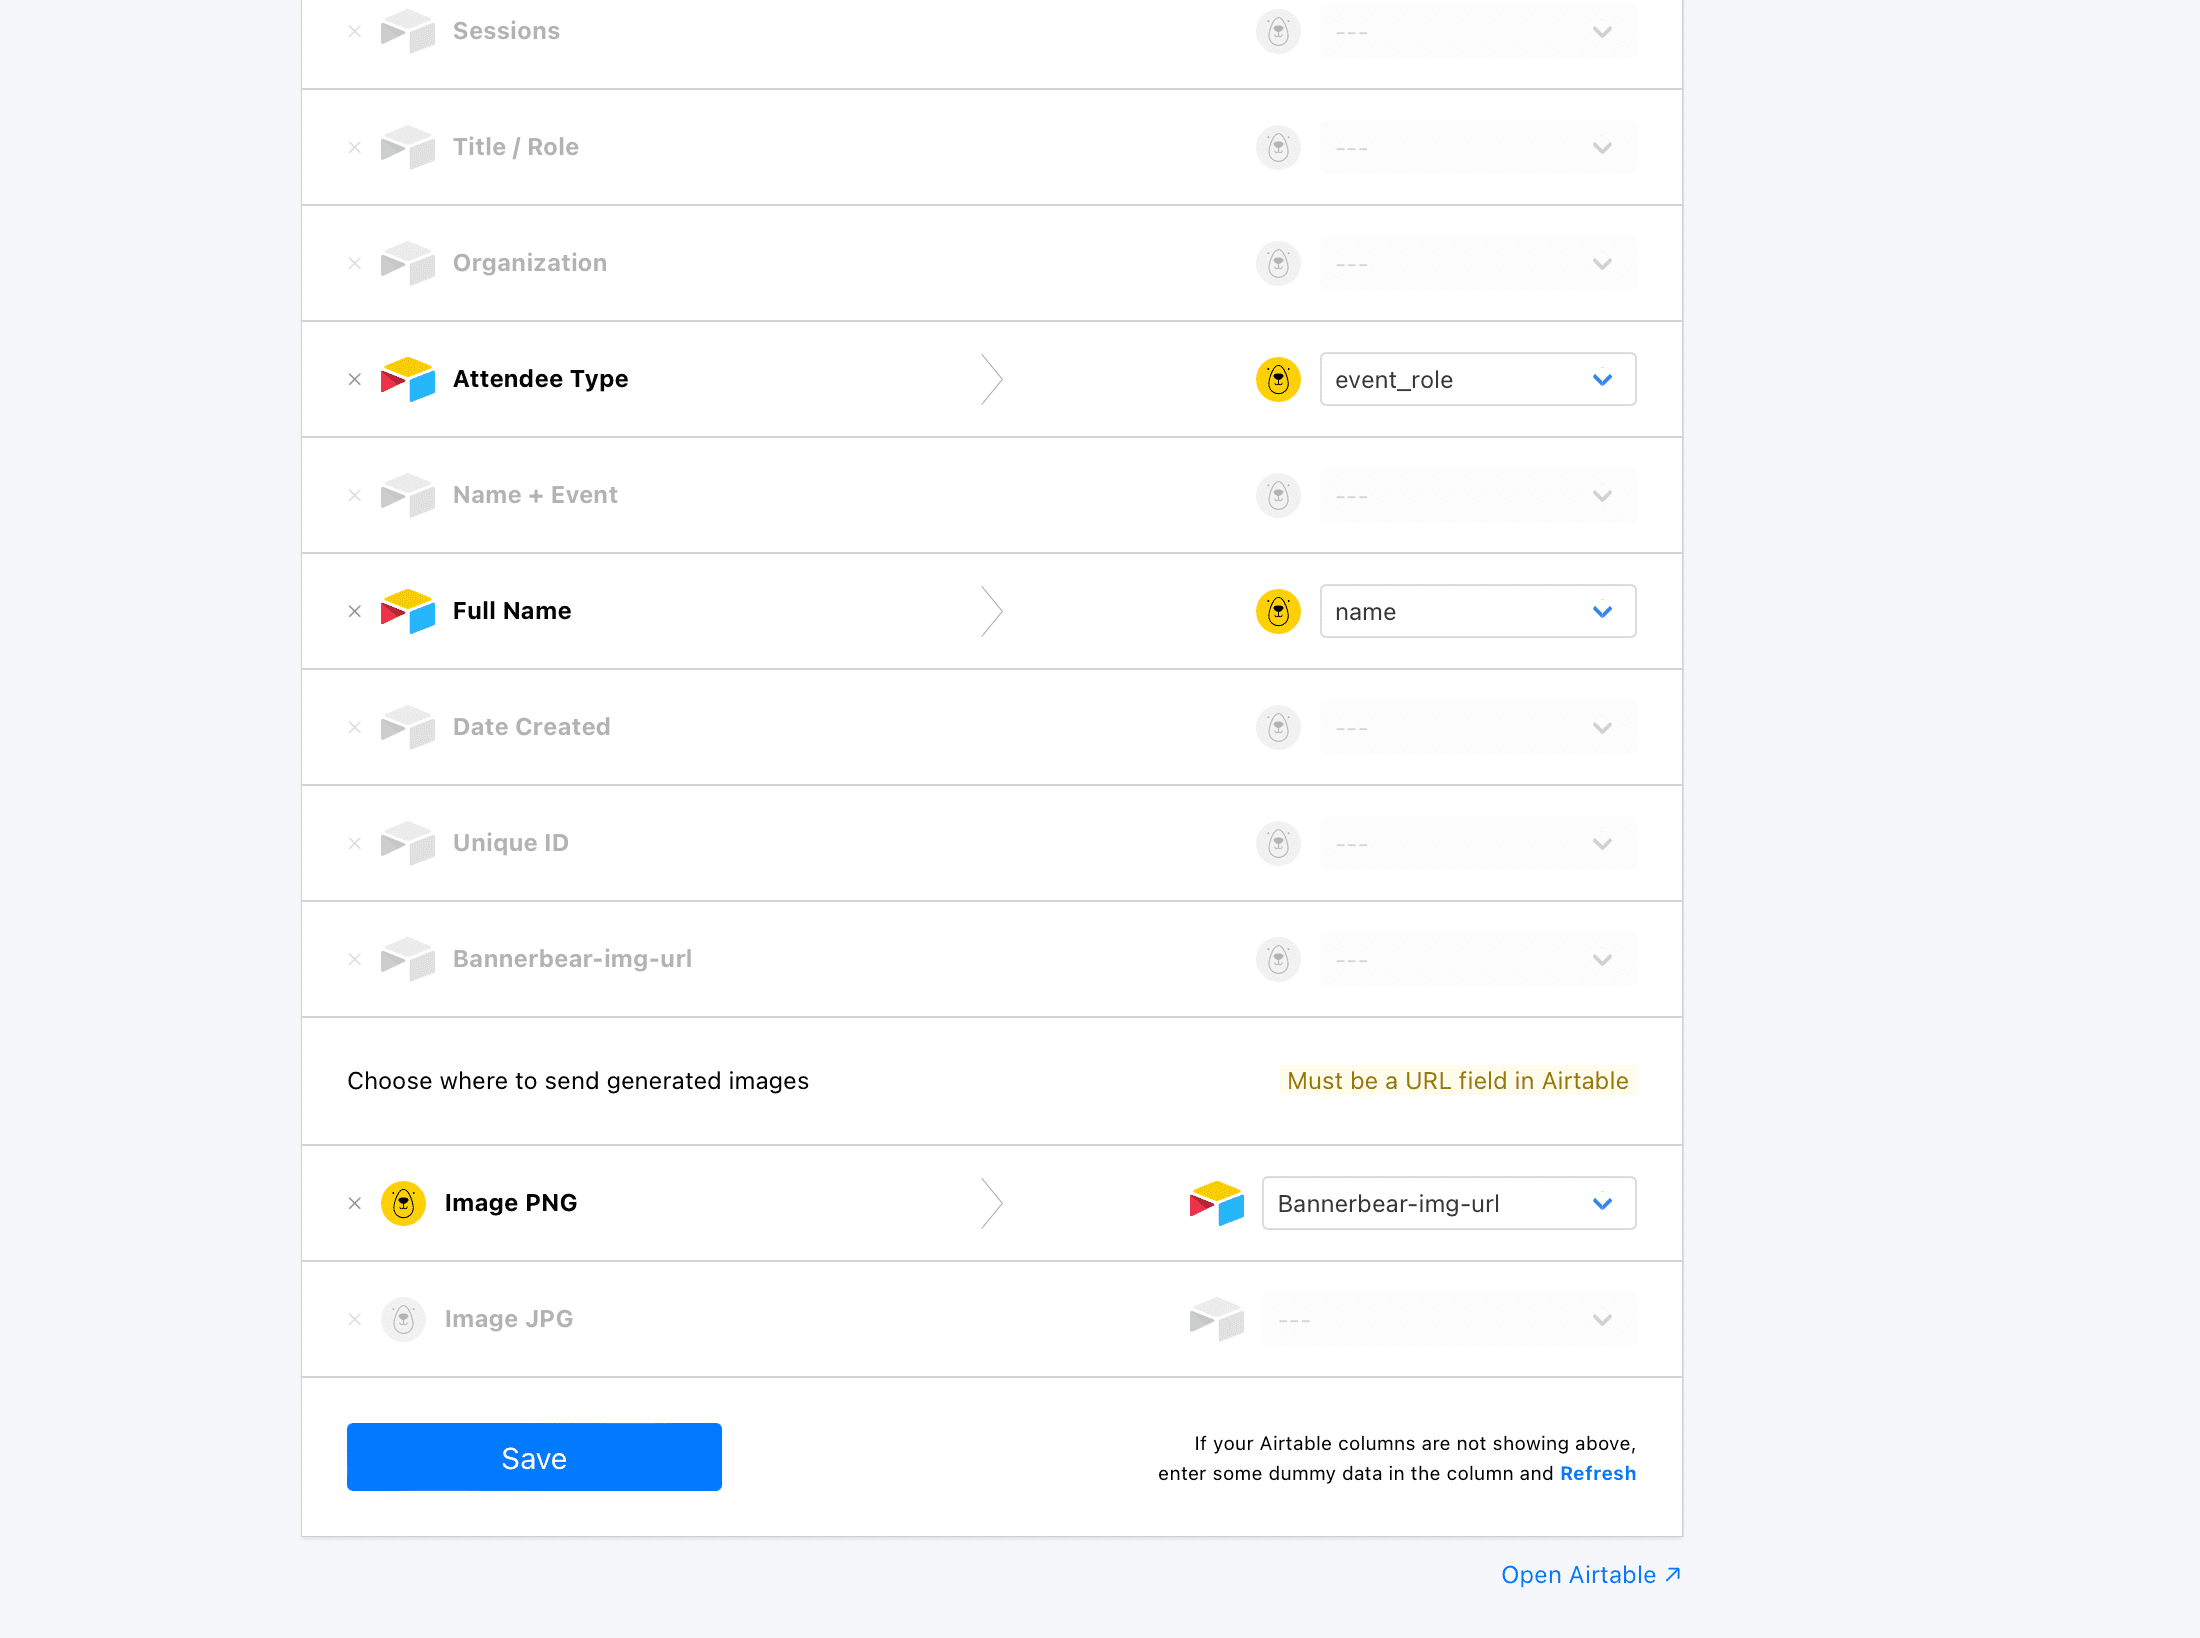
Click _ Save. _ Almost done! Now we’ll proceed to import the IDs.
Import data from Airtable to Bannerbear
We will import data from Airtable and perform the automated image generation into the URL field on Airtable.
Hit the Import button in Bannerbear. All your images will also be listed in the Bannerbear dashboard.
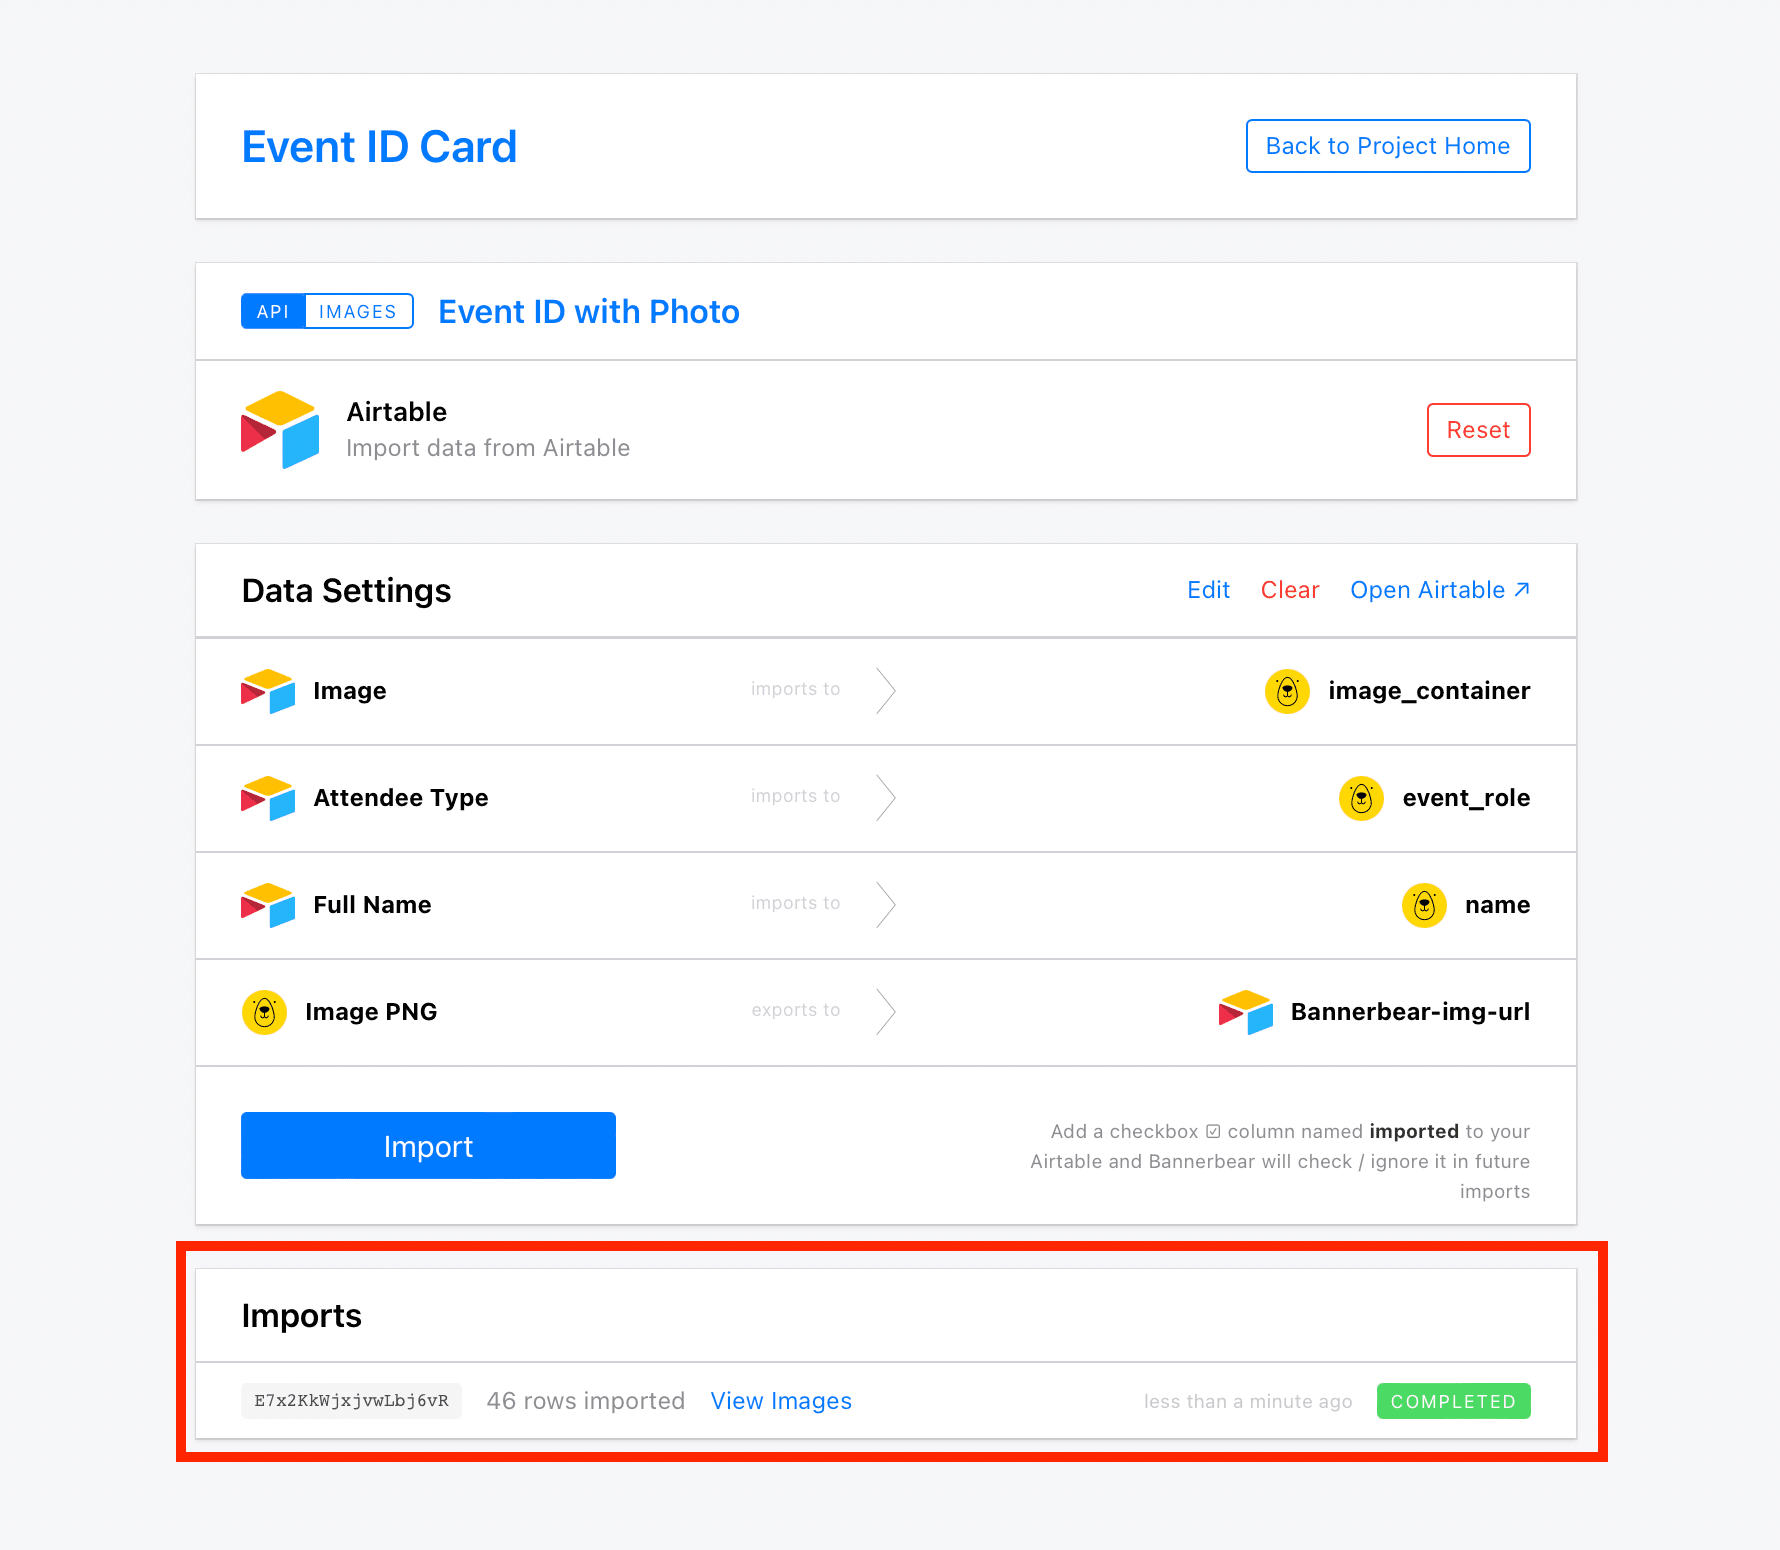
If you go back to your Airtable you will see the image URLs appear automatically as Bannerbear generates your requested media. Bannerbear will also check the checkbox ☑ column named imported on Airtable.

Once you are done designing the event IDs you may start the process to get them printed and shipped or download the images. These IDs can be printed at home or at your local print shop and shipped right to your door.

Next Steps
You can customize the templates however you like, or push this Airtable data to multiple templates at once using Template Sets. In this way, you can import Airtable data into multiple sizes/designs at once.
So that’s it, this tutorial will help you make the event ID creation process more effective and automated!
This article was originally published on Bannerbear.com on May 16, 2022. Written by: Juliet Edjere
ABOUT ME
I'm Juliet Edjere, a systems thinker focused on how AI changes operations, how organisations evolve, how workflows break down, and on building scalable solutions.
I help organisations redesign workflows, operations, and knowledge systems for the AI era. All things: systems thinking, operational design, AI-era workflows, knowledge infrastructure
Visit my website → built with Carrd
Other Posts